Choosing a baseball bat seems simple until you're standing in a sporting goods store facing 50 different options across wildly different price points. Length, weight, material, certification — it can be overwhelming. Here's a clear guide to finding the right bat for your child.
Step 1: Know the League Requirements
Before anything else, find out what bat certifications your child's league requires. Using the wrong certification can result in your child being unable to play.
- Little League (LLBWS): USABat certification required for most leagues
- Travel ball (USSSA): USSSA 1.15 BPF stamp required
- High school (NFHS): BBCOR certification required
- NCAA collegiate: BBCOR required
Step 2: Determine the Right Length
Use this general age/height guide as a starting point:
- Ages 5–7 / Under 3'5": 24"–26" bat
- Ages 8–9 / 3'5"–4': 26"–28" bat
- Ages 10–11 / 4'–4'8": 28"–29" bat
- Ages 12–13 / 4'8"–5': 30"–31" bat
- Ages 14+ / 5'+ with strength: 31"–33" bat
Step 3: Choose the Right Drop Weight
Drop weight is the difference between the bat's length and weight (e.g., a 30" bat weighing 20 oz is a -10 drop).
- Youth players: -10 to -12 (lighter, easier to swing)
- Travel ball intermediates: -8 to -10
- High school (BBCOR): -3 (standardized)
A bat that's too heavy slows bat speed and hurts mechanics. When in doubt, go lighter.
Step 4: Choose the Material
Aluminum/Alloy
Most affordable, durable, and great for youth players. Larger sweet spot than wood.
Composite
Higher performance, lighter swing weight, and better feel at contact. More expensive and may require a break-in period.
Wood
Used for development purposes and in wood-bat leagues. Best for teaching proper hitting mechanics as there's less margin for error.
Step 5: Let Them Try It
The best bat is the one your child can swing confidently and comfortably. If possible, visit a facility where they can take swings with different models before buying. Many batting cages on CageList allow you to bring your own equipment to test.
Final Thoughts
Don't overspend on a bat a growing child will outgrow in one season. Match the certification to the league, size to the player, and material to the budget. When in doubt, go lighter and shorter — you can always move up.
Keep exploring on CageList
- Structure your next cage session
- Browse batting cage drills
- Get better off a pitching machine
- Find batting cages near you
Practice structure that makes this stick
For How to Choose the Right Baseball Bat for Your Child, a player should turn the idea into a repeatable cage plan. Start with a warm-up round, move into one focused drill, then finish with a short challenge round that feels closer to a game. The challenge can be simple: hard contact to the middle, take pitches outside the plan, or execute a two-strike swing for ten reps.
That structure keeps the session from becoming random swings. It also helps parents and coaches see whether the drill is working. When the player needs more reps, CageList search can help find a nearby space that matches the session.
When to use a cage for this
How to Choose the Right Baseball Bat for Your Child becomes easier to apply when the player has a controlled place to repeat the movement. A cage removes defensive distractions and lets the hitter focus on timing, contact quality, pitch selection, or mechanics. Short sessions can be especially useful because players can make one adjustment, test it, and come back later without needing a full team practice.
That is why CageList connects training advice to nearby cages. Better access creates more chances to practice with intent.
Bottom line
How to Choose the Right Baseball Bat for Your Child should leave the reader with a practical next step. For CageList, that means connecting the advice back to better practice access: compare nearby cages, understand what each space is best for, and choose the option that helps the player get more useful reps.
Find a baseball league near you
Put your work into a real season — men's leagues, Little League, and travel teams, all in one guide.
Related Guides
View all articles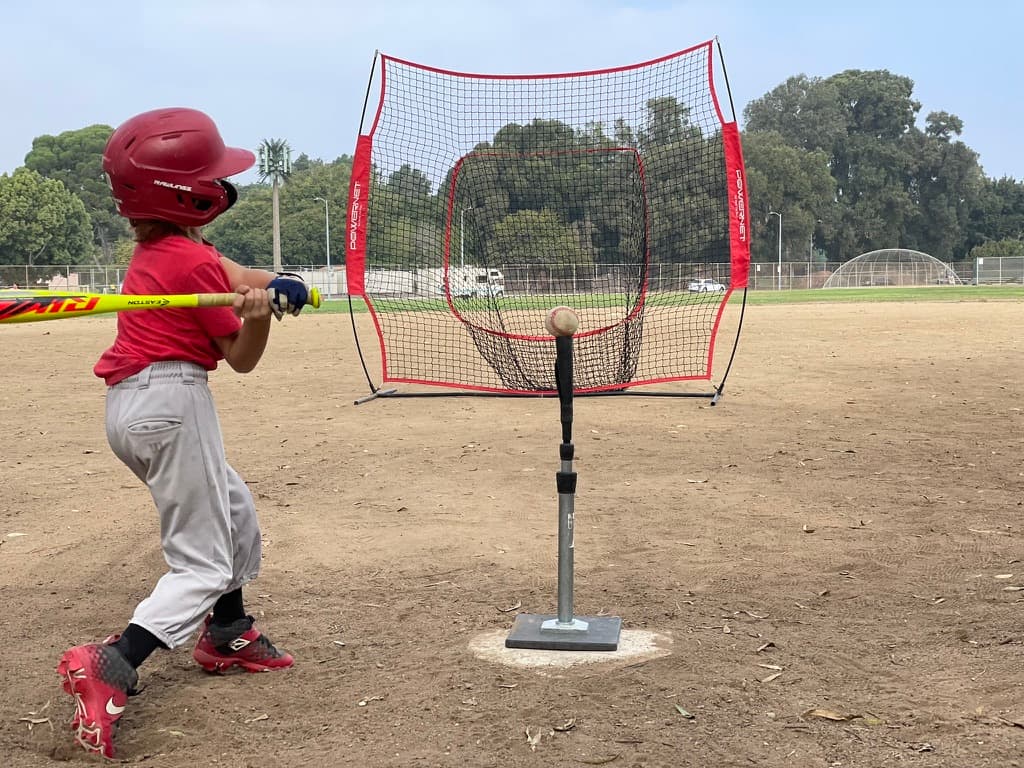
Training & Hitting
Practicing Hitting at Home Between Cage Sessions
You can not book a cage every day, but you can still get quality swings at home. Here is how to build a simple at-home hitting routine between rentals.
Training & Hitting
How to Run a Hustle Ball Class: Coach Pitch, Close Games, Teachable Moments
A coach's how-to for Hustle Ball™ — manage pace with coach pitch, keep games close, rotate positions, and teach without killing the energy.
Training & Hitting
Hustle Ball: Why One Practice a Week Should Feel Like a Real Game
MADE Baseball's Hustle Ball™ — coach-pitch live play that keeps kids loving the game. Why one weekly practice should feel like a real game, not only drills or tournaments.
Run a travel team? Get your free page.
Baseball or softball. Claim a free directory page, post tryouts, and share cagelist.com/@yourteam with families.
Find your league
Free directories of real leagues and clubs near you — then book a batting cage to get your reps in before opening day.
1,000 organizations
Join the backyard batting cage community
Talk builds, gear, hosting and player development with cage owners, coaches, parents and baseball families.