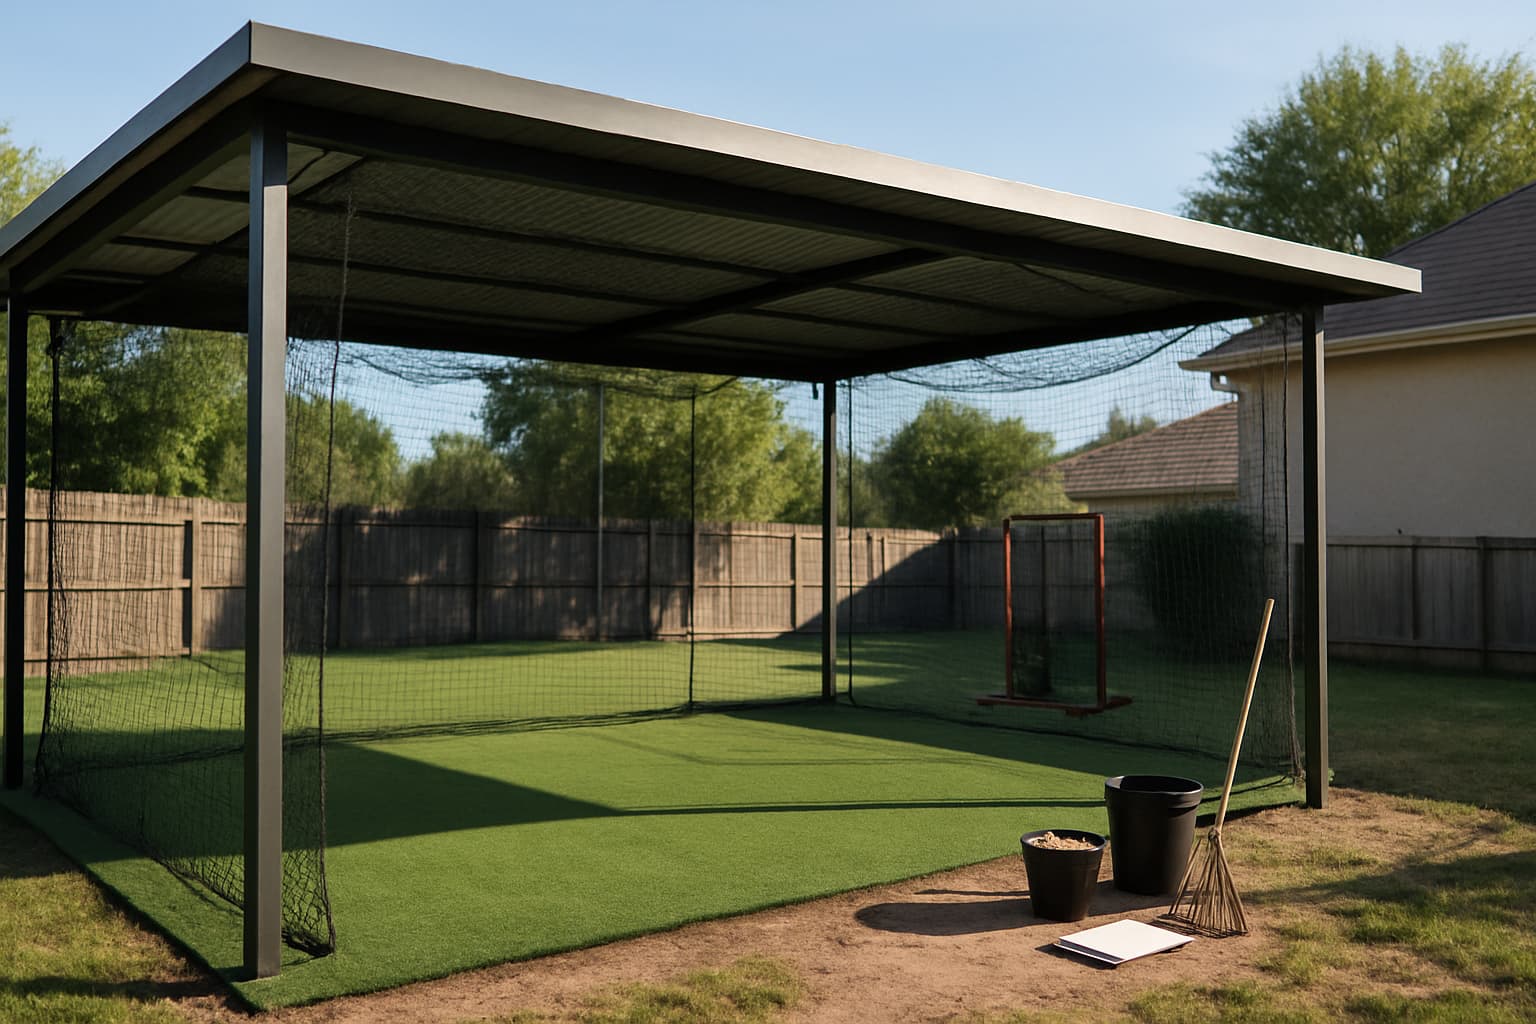
Water is the silent enemy of batting cages. Poor drainage leads to standing water, muddy surfaces, structural damage, and safety hazards. Whether your cage is on turf, concrete, or dirt, proper drainage planning is essential.
Why Drainage Matters
- Safety: Standing water creates slip hazards and can cause electrical issues with lighting systems
- Turf longevity: Waterlogged turf loses its drainage backing and develops mold
- Structural integrity: Persistent moisture accelerates rust on metal components
- Usability: A cage with poor drainage may be unusable after rain events
Drainage Solutions by Surface Type
Concrete Floors
Ensure the slab has a slight grade (1/8" per foot) toward a floor drain or the open edge. Without grading, water pools in the center. Add drain channels around the perimeter if retrofitting.
Artificial Turf
Quality turf has perforated backing that allows water to drain through. Install a gravel base (2–4 inches) beneath the turf for maximum drainage. Avoid impermeable membranes under outdoor turf.
Compacted Gravel or Crushed Stone
Excellent natural drainage. Use #57 crushed stone or decomposed granite. Add landscape fabric beneath to prevent weeds while maintaining drainage flow.
Dirt or Native Soil
Grade the area to slope away from the cage center. Crown the center slightly. Consider adding a layer of gravel or installing a French drain around the perimeter.
Indoor Cages
Even indoor cages need drainage planning. Floor drains, proper concrete grading, and humidity control prevent moisture buildup from sweat, water bottles, and condensation.
Maintenance Tips
- Clear debris from drainage paths after every rain event
- Inspect for low spots that develop over time as the ground settles
- Consider a squeegee or wet/dry vac for surface water removal after heavy rain
Final Thoughts
Drainage is often an afterthought but it's a critical component of a well-designed batting cage. If you're listing on CageList, renters will not return to a cage with water issues.
Keep exploring on CageList
- Read the batting cage build guide
- Estimate batting cage ROI
- Compare batting cage quality tiers
- Join the CageList builder network
What to decide before you spend money
The best batting cage build decisions start with use case. A youth player who needs tee work and front toss does not need the same structure as a high school team running machine rounds, and a host planning to rent cage time on CageList has different needs than a homeowner building only for family use. Before buying materials, define the player level, expected weekly use, weather exposure, available footprint, and whether the cage might eventually become a rentable asset.
Build quality matters because batting cages take repetitive abuse. Netting, frame stability, drainage, surface choice, lighting, and safe equipment placement all affect how long the cage lasts and how confident players feel inside it. A cheaper build can make sense, but only if it is honest about its limits.
CageList build lens
CageList looks at builds through two questions: does it help players get better reps, and could a guest understand and trust the setup from a listing page? Clear dimensions, safe spacing, clean turf or flooring, good photos, and simple rules all make a cage easier to use and easier to rent.
FAQ
Should I build once or upgrade over time?
Upgrade over time if budget is tight, but do not compromise on safety basics: net condition, frame stability, distance from hazards, and clear hitting zones.
What makes a cage more rentable?
Lighting, turf, a reliable machine, L-screen, balls, parking instructions, and clean photos usually matter more than flashy extras.
Before the final decision
Walk the space like a guest would. Check where a hitter stands, where balls can escape, where spectators wait, how water drains, and how the cage will look in photos. That perspective catches problems that a materials list misses and helps the finished cage become safer, clearer, and more useful.
Get the numbers
Get your free batting cage cost estimate
Enter your email and we'll send you an itemized build breakdown — frame, netting, turf, lighting, and install — plus what a cage like yours could earn if you rent it out.
No spam, unsubscribe anytime. Prefer the interactive tool? Open the full cost calculator.
Already have a cage?
Rent it out when you're not hitting
Players, parents, and coaches near you are looking for cage time. Listing is free, you set your own price and hours, and you approve every booking.
Related Guides
View all articles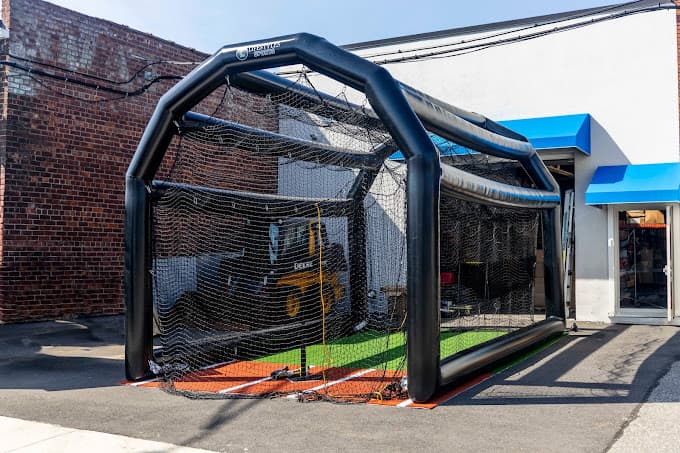
Build a Batting Cage
Inflatable Batting Cages: What They Cost, and Whether They Pay for Themselves
Inflatable batting cages run from $1,500 party units to $10,000 branded commercial builds, and only one manufacturer publishes a real price. What each tier costs, why $3,999 is not the price of a cage, and the booked hours it takes to pay one off.
Build a Batting Cage
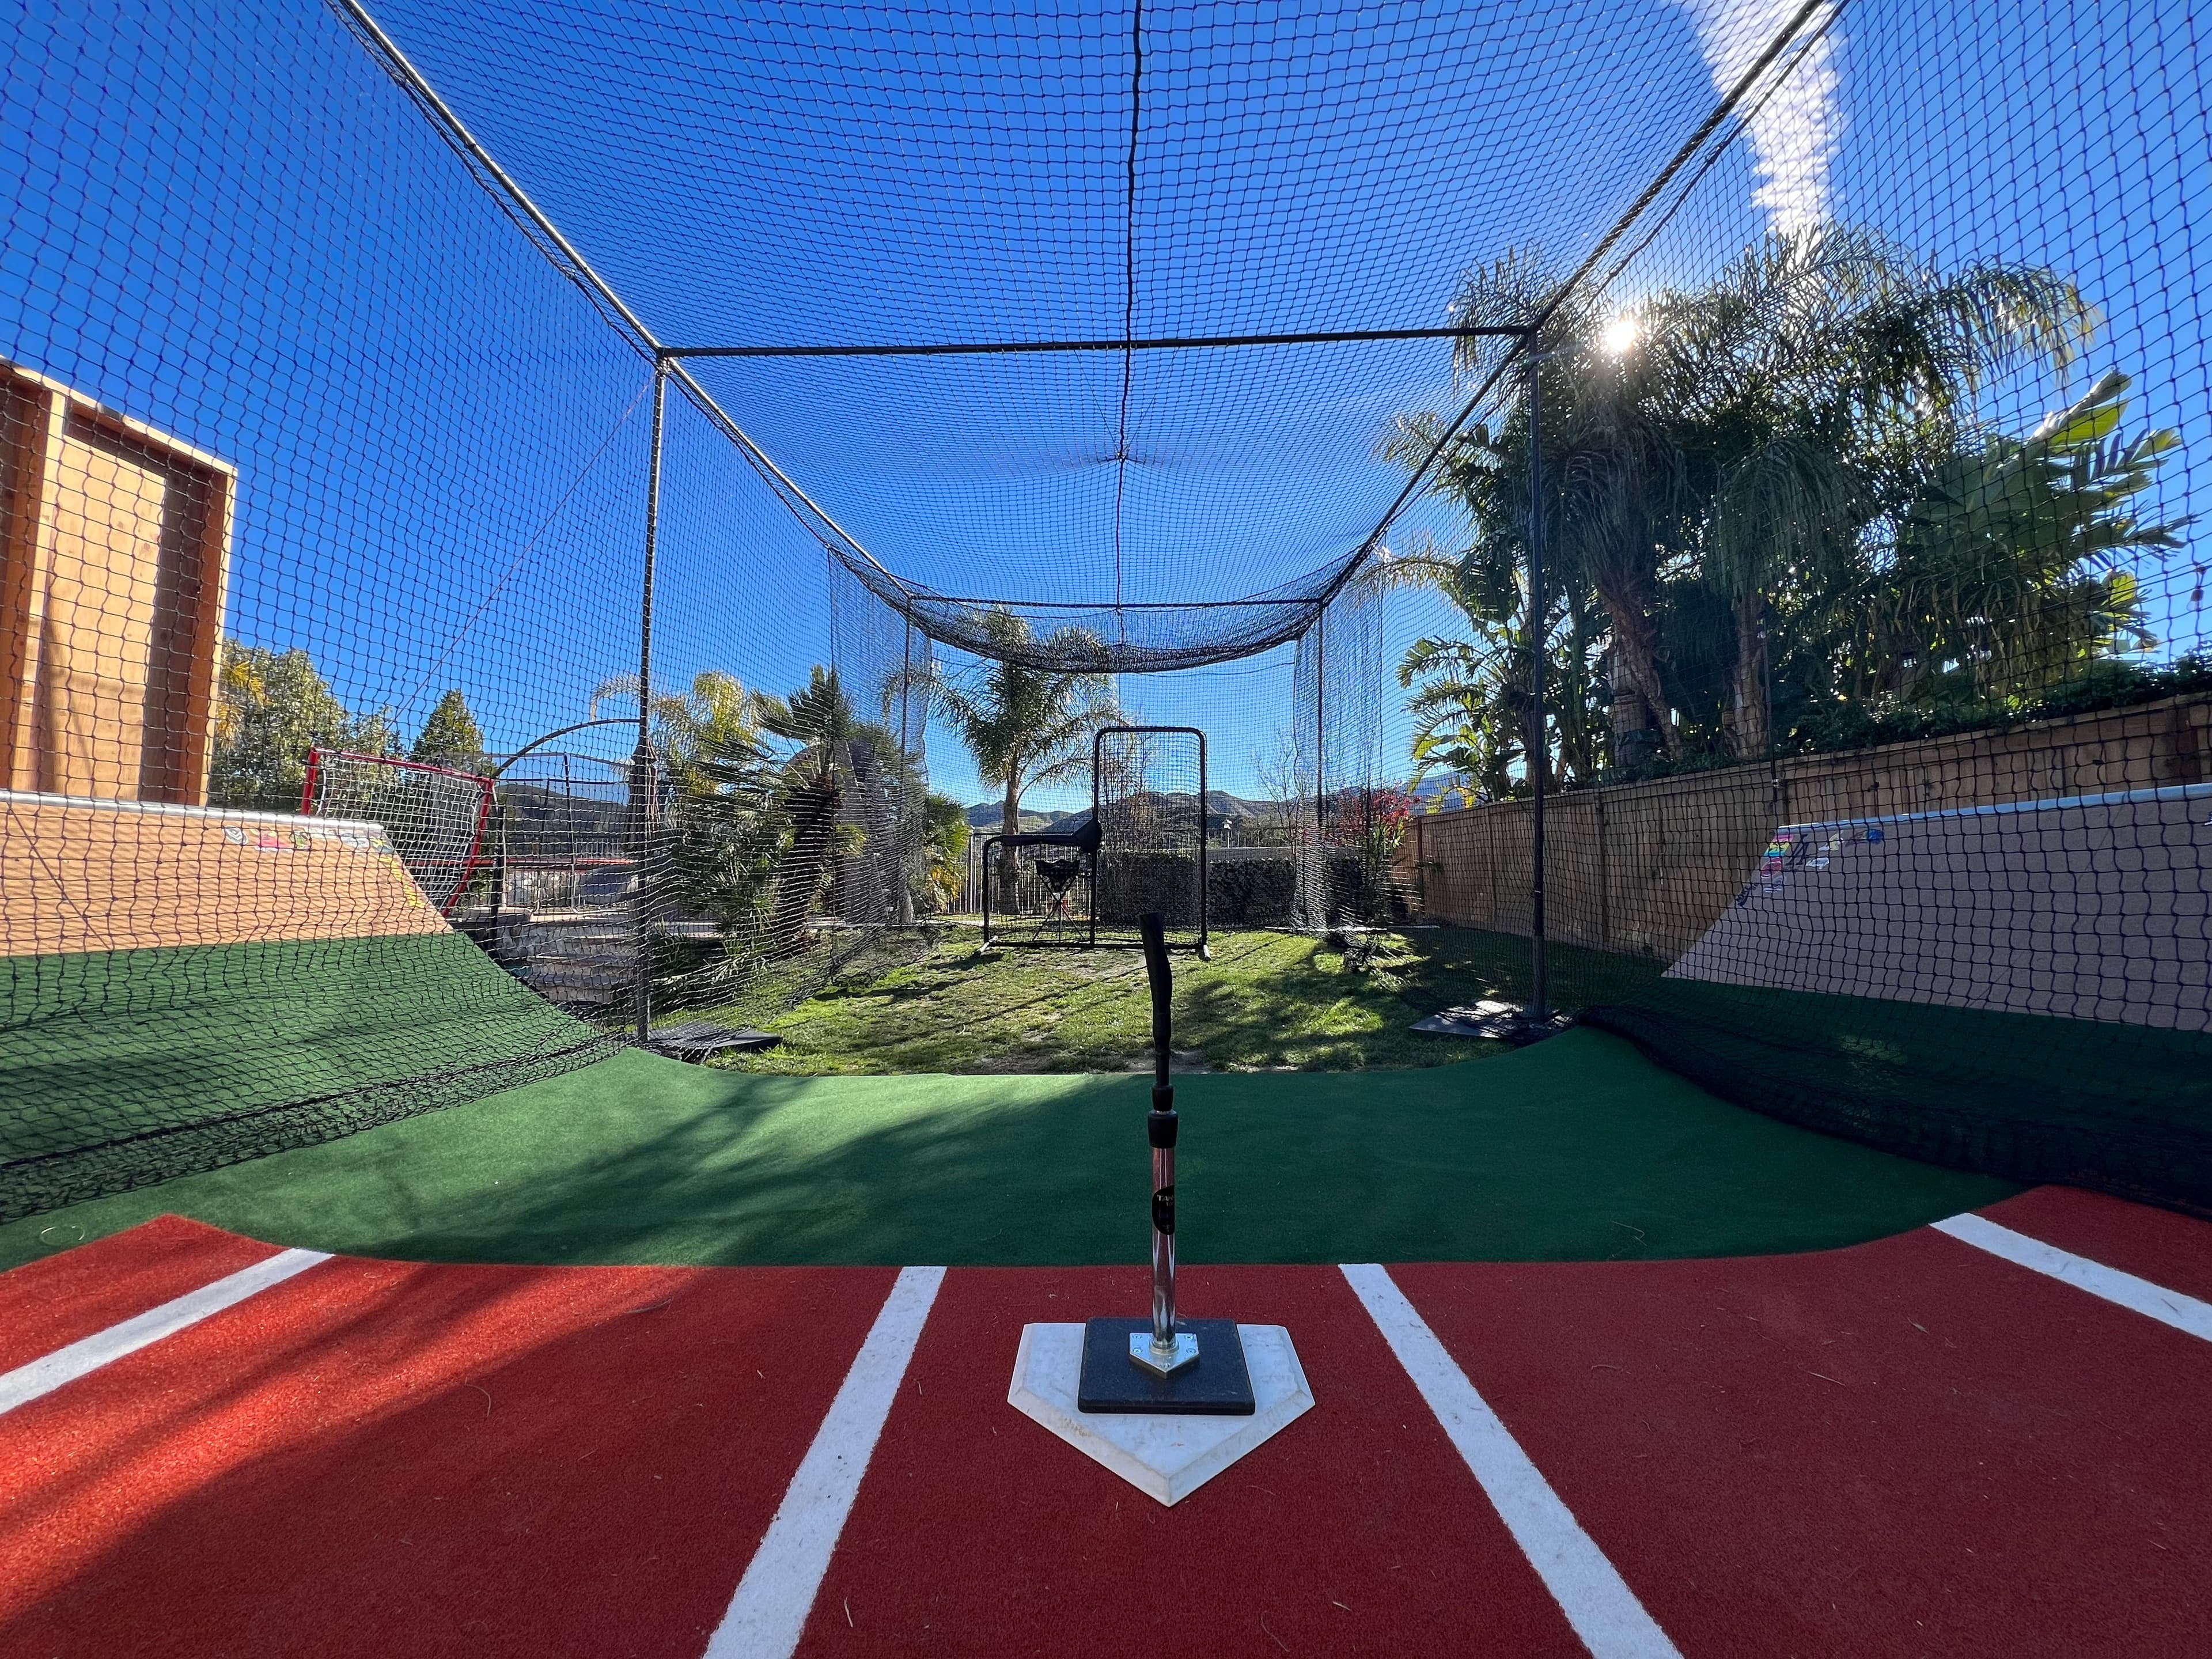
27 Types of Batting Cage: A Photo Field Guide to Every Backyard Setup in America
Barn conversions, driveway slivers, retractable tunnels, ranch cages and climate-controlled outbuildings. A photo field guide to 27 kinds of batting cage, built from 214 real bookable listings on CageList, with what each one costs and who it is for.
Build a Batting Cage
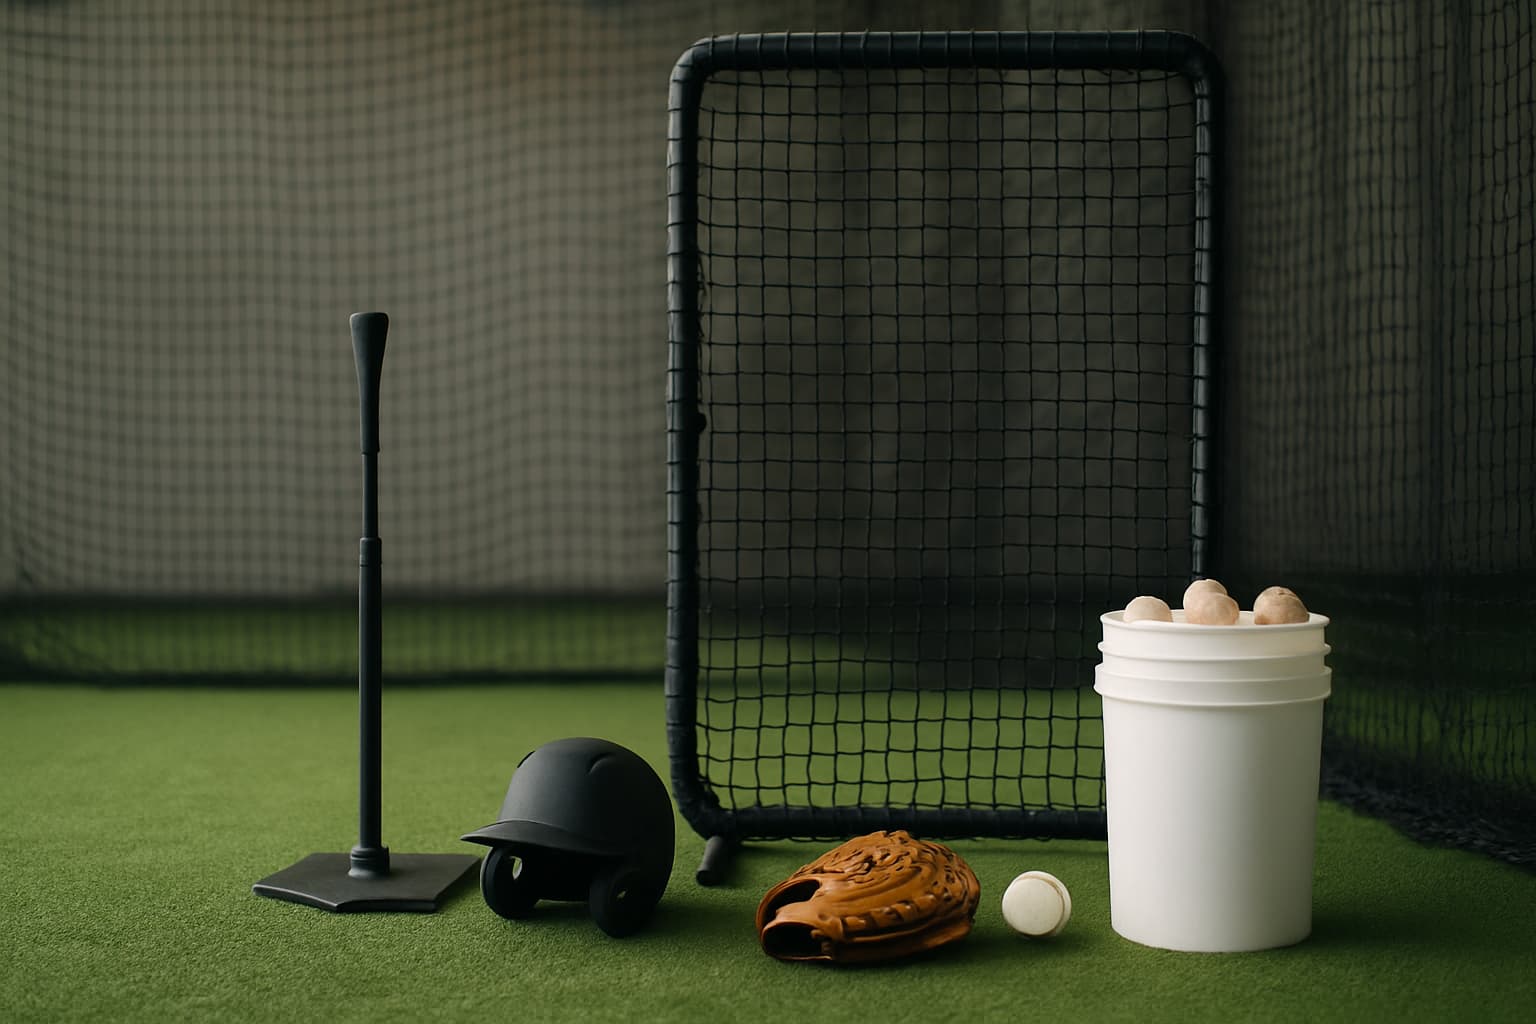
Backyard Batting Cage Kits, Compared: What You Really Get at Each Price (2026)
Every price tier of backyard batting cage, honestly compared — the companies, the netting grades, the realistic lifespan, and what a cage that survives real hitters (or paying renters) actually needs.
Run a travel team? Get your free page.
Baseball or softball. Claim a free directory page, post tryouts, and share cagelist.com/@yourteam with families.
Find your league
Free directories of real leagues and clubs near you — then book a batting cage to get your reps in before opening day.
1,000 organizations

Join the backyard batting cage community
Talk builds, gear, hosting and player development with cage owners, coaches, parents and baseball families.