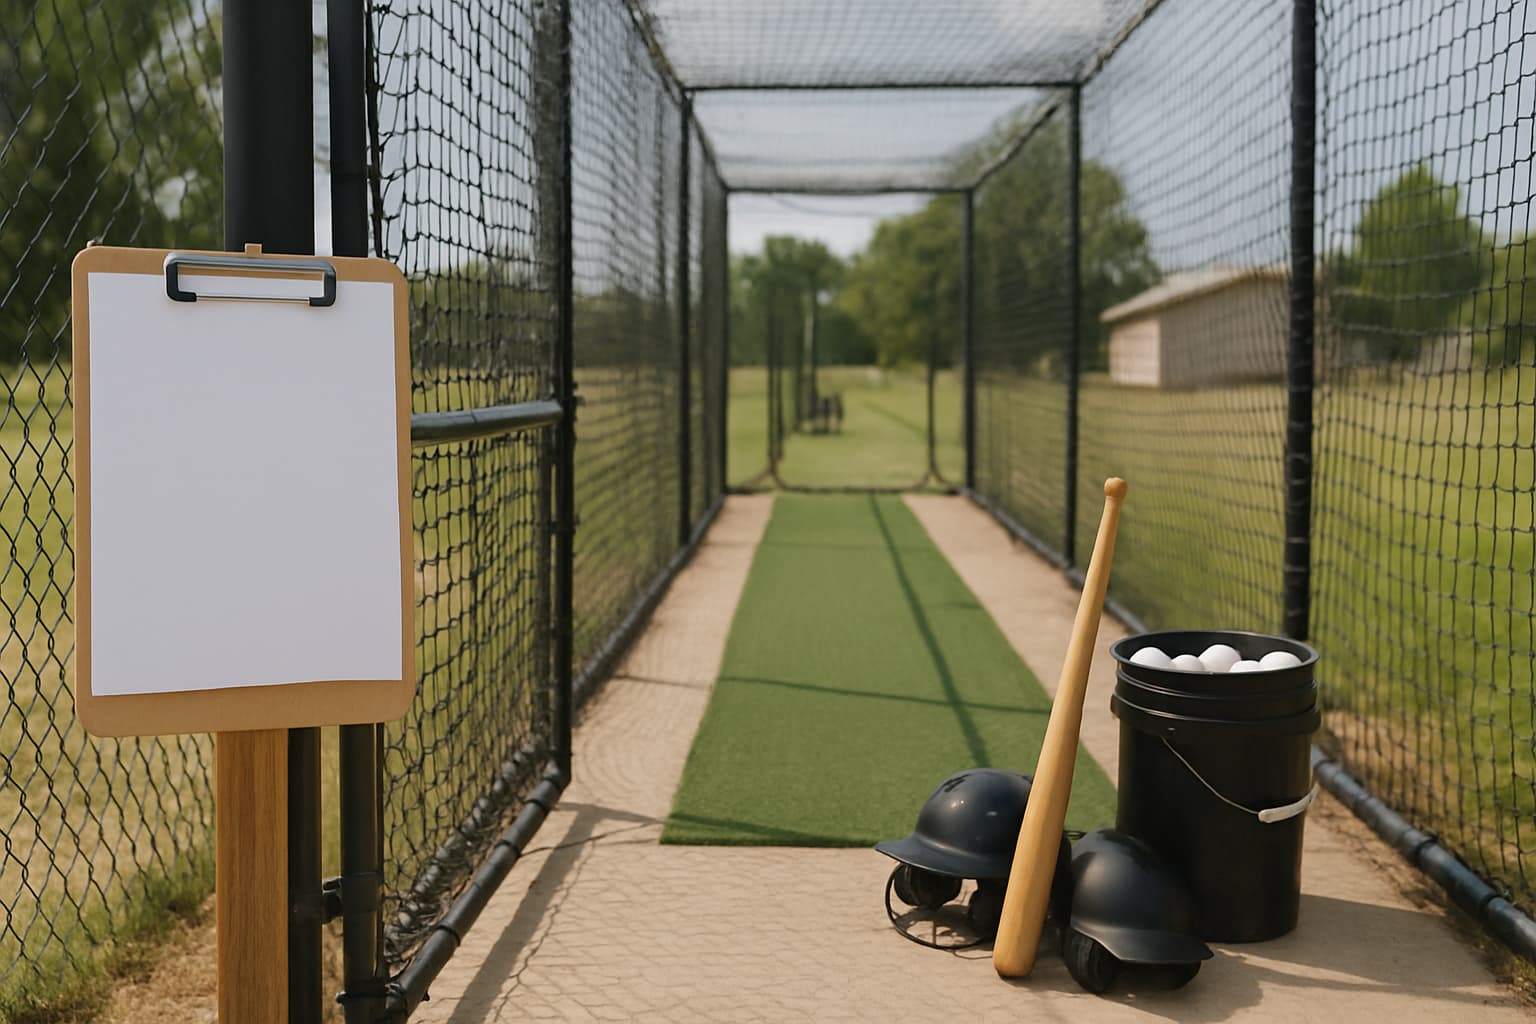
Your batting cage frame is only as secure as its anchors. A cage that tips, shifts, or collapses is a serious safety hazard. Whether you're installing a permanent in-ground system or a portable cage, here's how to anchor it properly.
Types of Batting Cage Anchors
Concrete Footings
The gold standard for permanent batting cage installations. Dig holes 18–24 inches deep and pour concrete around base plates or post sleeves. Allow 48–72 hours to cure before loading the frame.
Auger Ground Stakes
Helical auger stakes screw into the ground and provide excellent holding power without concrete. Great for semi-permanent setups or softer soils. Available in 18"–36" lengths.
Sandbag or Weight Plate Bases
For truly portable setups, weighted bases prevent tipping on flat surfaces like parking lots or gymnasium floors. Less secure than in-ground options but sufficient for supervised use.
Expansion Anchor Bolts
For concrete or asphalt surfaces, expansion bolt kits allow you to permanently anchor frame bases to existing hard surfaces without excavation.
Installation Best Practices
- Always call 811 (USA) before digging to locate underground utilities
- Space frame posts no more than 10 feet apart for proper structural support
- Use a level to ensure vertical poles are plumb before concrete sets
- In frost-prone areas, dig below the frost line to prevent heaving
- Add diagonal bracing to corners for wind resistance
Load Calculations
A standard 70' cage with #42 netting can weigh 200–400 lbs fully rigged. Add wind load and the anchoring system needs to hold 3–5x that weight in uplift force. Always err on the side of over-engineering your anchors.
Testing Your Anchors
Before first use, push firmly on each pole to test for movement. The frame should be rock-solid with no wobble. If any poles move, reinforce before use.
Final Thoughts
Proper anchoring is the foundation of a safe batting cage. Don't rush this step. If you're listing on CageList, a secure, well-anchored cage gives renters confidence and protects you from liability.
Keep exploring on CageList
- Read the batting cage build guide
- Estimate batting cage ROI
- Compare batting cage quality tiers
- Join the CageList builder network
Build decision checklist
For Maximizing Safety: Tips for Installing Batting Cage Anchors, the most important question is not just what to buy or build. It is how the cage will be used after it is finished. A family cage for one hitter, a team practice cage, a lesson space, and a rental-ready backyard cage all need different decisions around netting, clearance, surface, lighting, storage, and safety.
Before spending money, write down the main user, the typical session length, the ball type, whether a machine will be used, and how many people need to stand safely around the cage. Those details make product choices more obvious and prevent expensive rework. If the cage may eventually be listed for rentals, prioritize clear access, predictable rules, good photos, and a layout that feels simple for a guest to understand.
CageList angle
CageList is not only for finding places to hit. It also gives builders a way to study what strong cages look like in the real world. Compare nearby batting cage listings and note how hosts describe length, lighting, machines, privacy, and guest expectations before finalizing your own setup.
Rental-ready thinking
Even if a cage starts as a personal project, it is worth thinking like a future host. Clear entry, safe walking paths, predictable ball containment, lighting, and simple rules all make the space easier for guests to understand. Those choices also make the cage easier for family members, teammates, and instructors to use.
When a build is clean enough to photograph and explain, it is also easier to list on CageList later if the owner decides to turn unused cage time into local availability.
Get the numbers
Get your free batting cage cost estimate
Enter your email and we'll send you an itemized build breakdown — frame, netting, turf, lighting, and install — plus what a cage like yours could earn if you rent it out.
No spam, unsubscribe anytime. Prefer the interactive tool? Open the full cost calculator.
Already have a cage?
Rent it out when you're not hitting
Players, parents, and coaches near you are looking for cage time. Listing is free, you set your own price and hours, and you approve every booking.
Related Guides
View all articles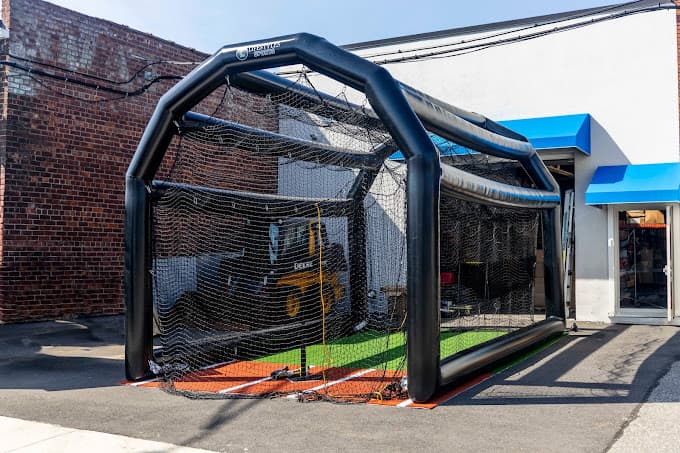
Build a Batting Cage
Inflatable Batting Cages: What They Cost, and Whether They Pay for Themselves
Inflatable batting cages run from $1,500 party units to $10,000 branded commercial builds, and only one manufacturer publishes a real price. What each tier costs, why $3,999 is not the price of a cage, and the booked hours it takes to pay one off.
Build a Batting Cage
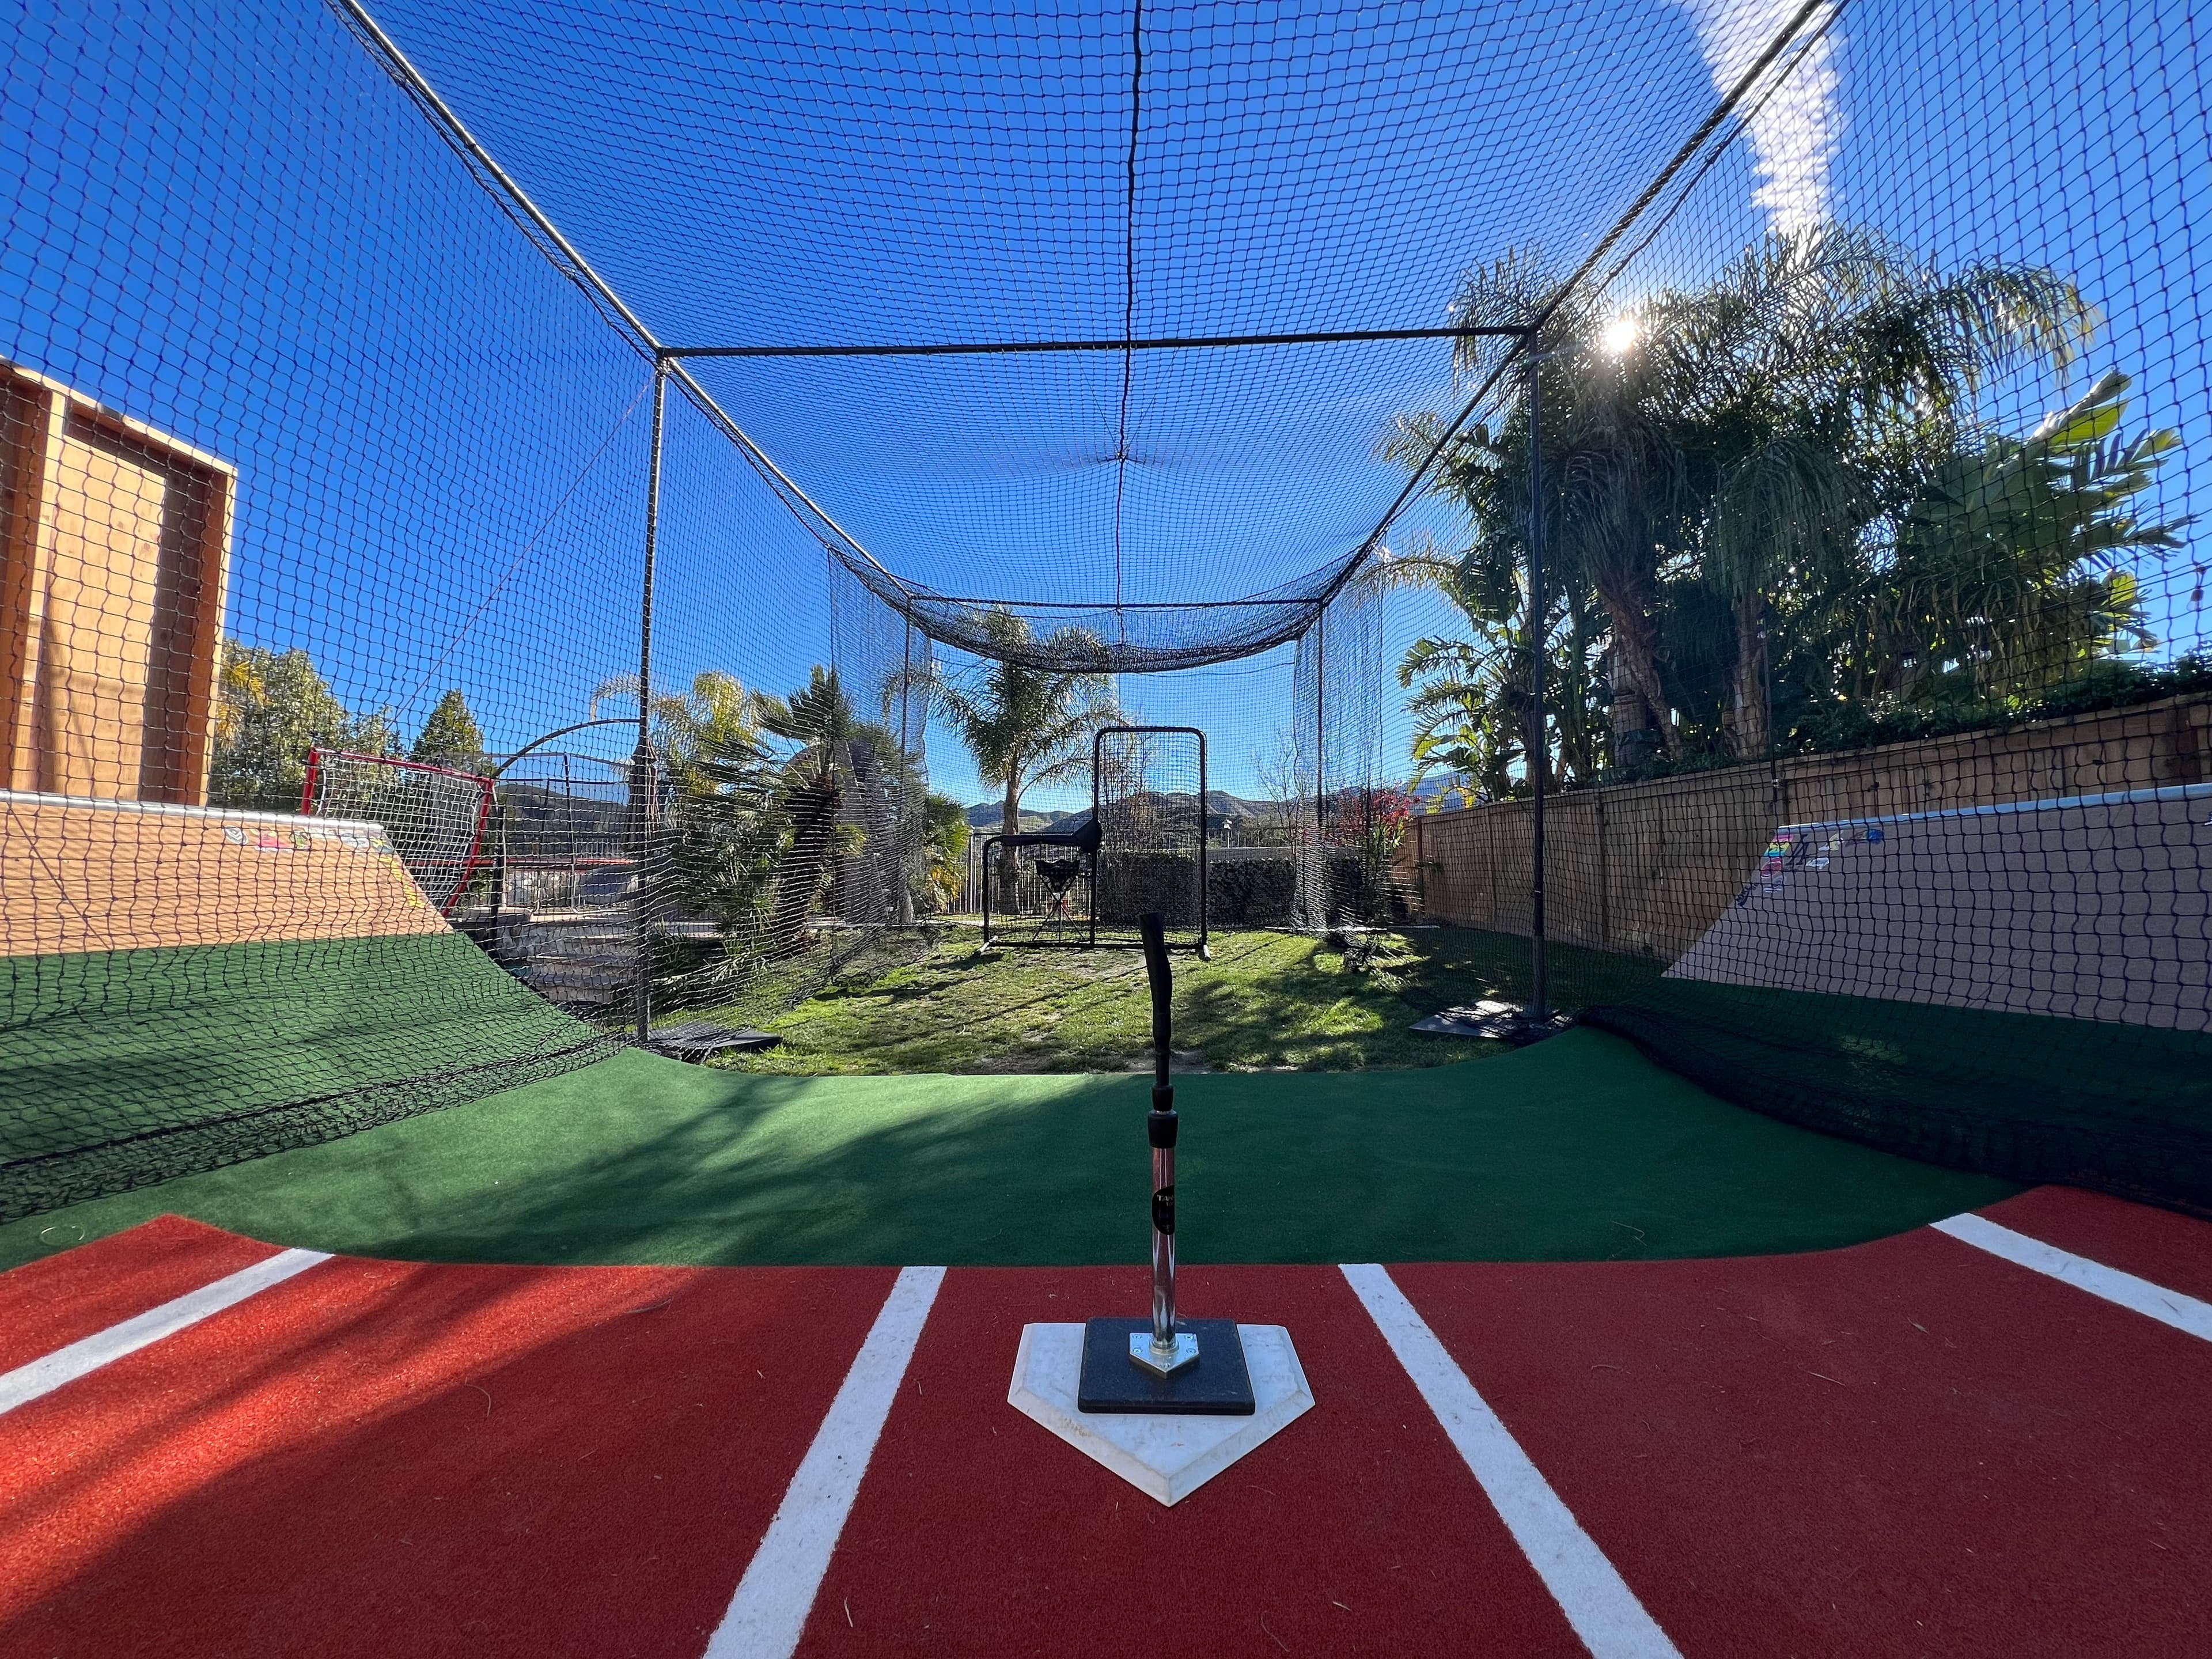
27 Types of Batting Cage: A Photo Field Guide to Every Backyard Setup in America
Barn conversions, driveway slivers, retractable tunnels, ranch cages and climate-controlled outbuildings. A photo field guide to 27 kinds of batting cage, built from 214 real bookable listings on CageList, with what each one costs and who it is for.
Build a Batting Cage
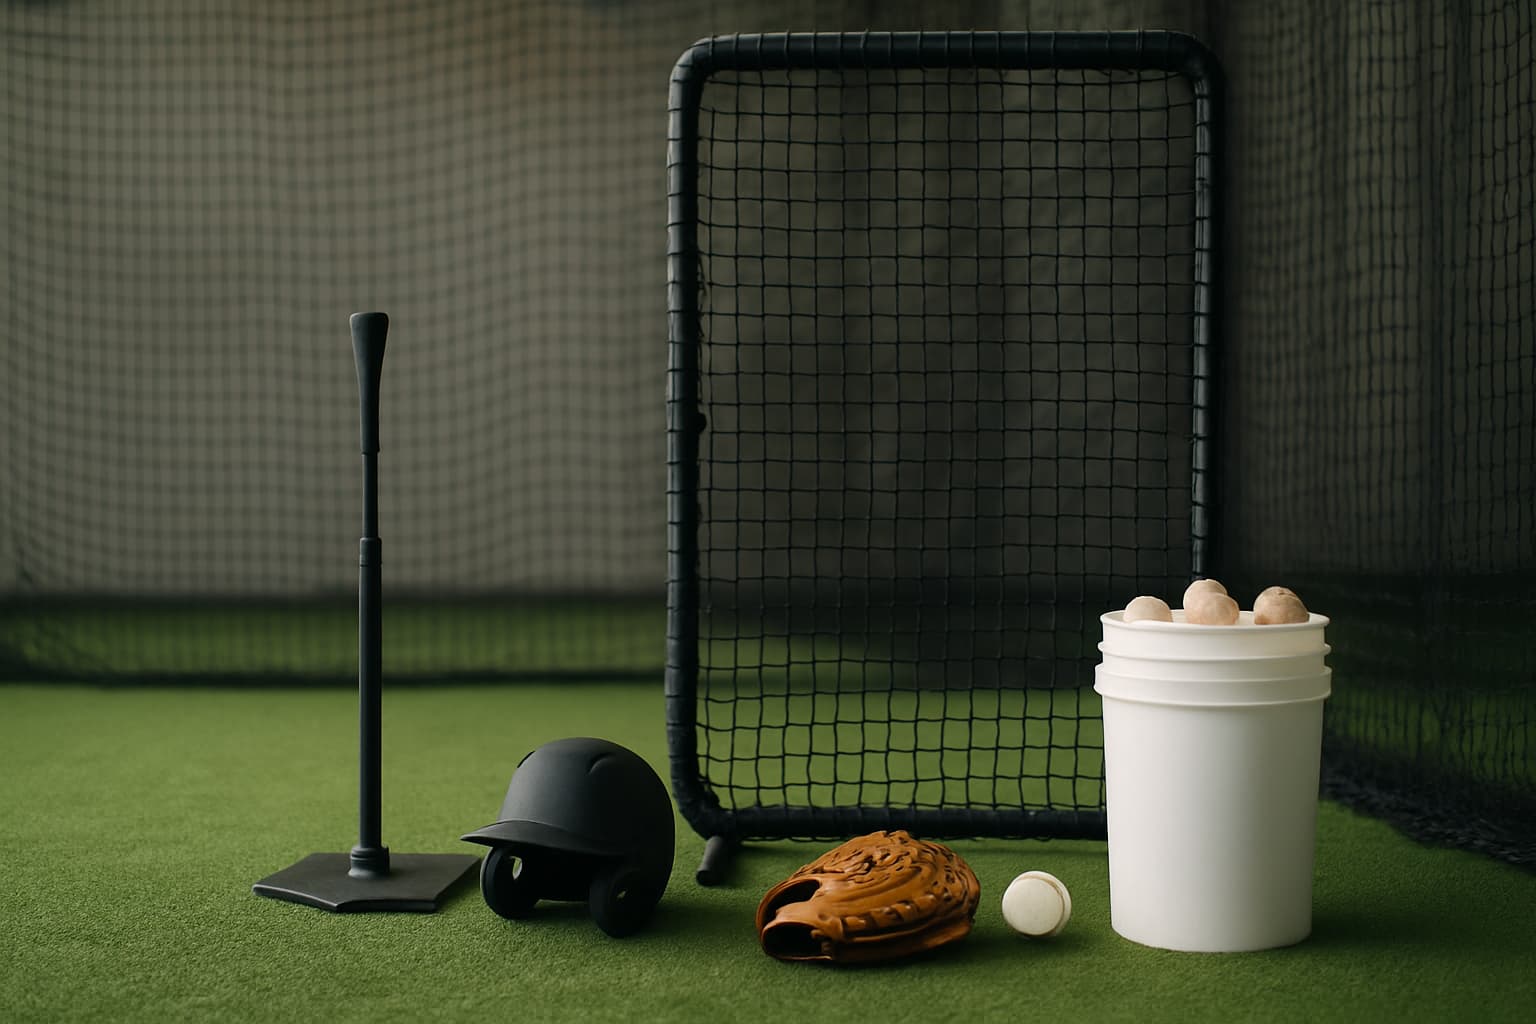
Backyard Batting Cage Kits, Compared: What You Really Get at Each Price (2026)
Every price tier of backyard batting cage, honestly compared — the companies, the netting grades, the realistic lifespan, and what a cage that survives real hitters (or paying renters) actually needs.
Run a travel team? Get your free page.
Baseball or softball. Claim a free directory page, post tryouts, and share cagelist.com/@yourteam with families.
Find your league
Free directories of real leagues and clubs near you — then book a batting cage to get your reps in before opening day.
1,000 organizations
Join the backyard batting cage community
Talk builds, gear, hosting and player development with cage owners, coaches, parents and baseball families.