Building a batting cage in your backyard is one of the best things you can do for a hitter in the family — unlimited reps, no drive to a facility, no waiting for a lane. It is also very doable as a weekend-plus project if you plan it right. This guide walks through the real decisions, the gear that actually matters, and how to pay the whole thing off after it is built.
Product recommendations in this guide are exactly that — recommendations. We point you to good options; we are not claiming an official partnership with any brand.
Step 1: Pick your size
Cage length drives everything else. The common home sizes:
- 55 ft — the popular full-length home cage; enough room for live pitching and machine work.
- 70 ft — closer to a facility feel if you have the yard for it.
- 35 to 40 ft — a soft-toss and tee cage for tight spaces; great for daily reps even if it is not full pitching distance.
Measure your usable yard first — length, width (12 ft is standard), and height (12 ft lets most hitters swing freely). Do not forget clearance behind the plate and room to walk around the frame.
Step 2: Choose a frame
Your frame is what makes it last. The main routes:
- Ground cable / pole kits — poles set in the ground with a top cable the net hangs from. Clean look, permanent, strong in wind.
- Freestanding metal frame kits — bolt-together frames you can relocate. Faster to set up, easier to move, usually pricier per foot.
- DIY with posts + cable — the budget route: your own posts, eye bolts, and aircraft cable. Most labor, least cost.
Step 3: Pick the right netting
Netting is where cheap cages fail. Look at material (nylon is stronger but needs more care outdoors; poly is better for full-time outdoor UV exposure), twine gauge (#36 is a solid all-around home gauge; go heavier for machine or wood-bat use), and fit (get netting sized to your frame with a little slack so balls die in the net instead of bouncing back).
Step 4: Turf and the hitting area
You do not need to turf the whole cage, but a hitting mat protects the ground where the batter stands, and a turf runway keeps mud out of the equation. Add a pitching mat or mound if you are throwing live.
Step 5: The extras that make it usable
- A pitching machine turns the cage into a solo reps factory.
- A tee, screen, and L-screen for safety and station work.
- Lighting — a couple of good outdoor LED fixtures double your usable hours into the evening.
- A ball caddy and a bucket of machine balls.
Do not want to DIY? Get a pro quote
A backyard cage is very buildable yourself — but plenty of people would rather have it done right, permitted, and warrantied. Our guide to choosing a batting cage builder covers how to vet a pro and get a real quote instead of guessing. Or start at the build guide.
The best part: pay it off by renting it out
Here is the move most people miss. Once your cage is built, it does not have to be a pure expense. List it on CageList and let families near you book time in it — you set the price and hours, and it can pay for itself over a season. Full walkthrough here: how to make money renting out your backyard cage. New to CageList? Start with the whole picture.
FAQ
How much does it cost to build a batting cage at home? It ranges widely based on size, frame type, and netting gauge — a budget DIY post-and-cable build is far cheaper than a permanent pole kit with turf and a machine. Decide permanent vs. movable first; that drives the budget.
What size batting cage should I build? 55 ft is the popular full-length home size; 70 ft if you have the room; 35 to 40 ft for tee and soft-toss work in a tight yard.
What netting is best for an outdoor cage? A poly net in a #36 or heavier gauge holds up well to full-time outdoor use and real swings. Heavier gauge for machine and wood-bat use.
Can I make money back on my batting cage? Yes — you can list a finished backyard cage on CageList, set your own rate, and rent it out to hitters nearby.
Get the numbers
Get your free batting cage cost estimate
Enter your email and we'll send you an itemized build breakdown: frame, netting, turf, lighting, and install, plus what a cage like yours could earn if you rent it out.
No spam, unsubscribe anytime. Prefer the interactive tool? Open the full cost calculator.
Already have a cage?
Rent it out when you're not hitting
Players, parents, and coaches near you are looking for cage time. Listing is free, you set your own price and hours, and you approve every booking.
Related Guides
View all articles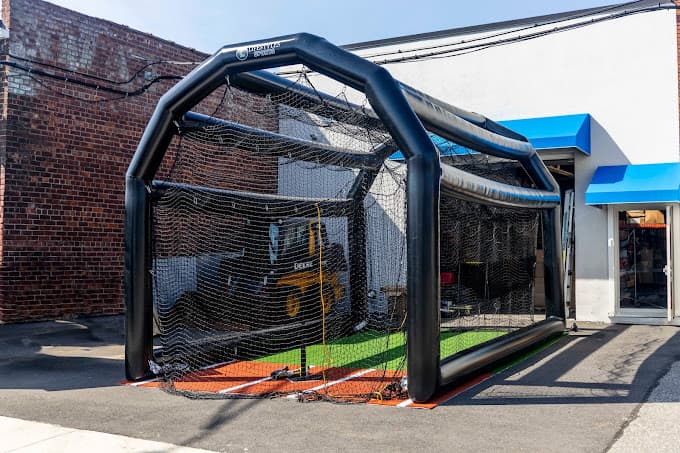
Inflatable Batting Cages: What They Cost, and Whether They Pay for Themselves
Inflatable batting cages run from $1,500 party units to $10,000 branded commercial builds, and only one manufacturer publishes a real price. What each tier costs, why $3,999 is not the price of a cage, and the booked hours it takes to pay one off.
6 min readRead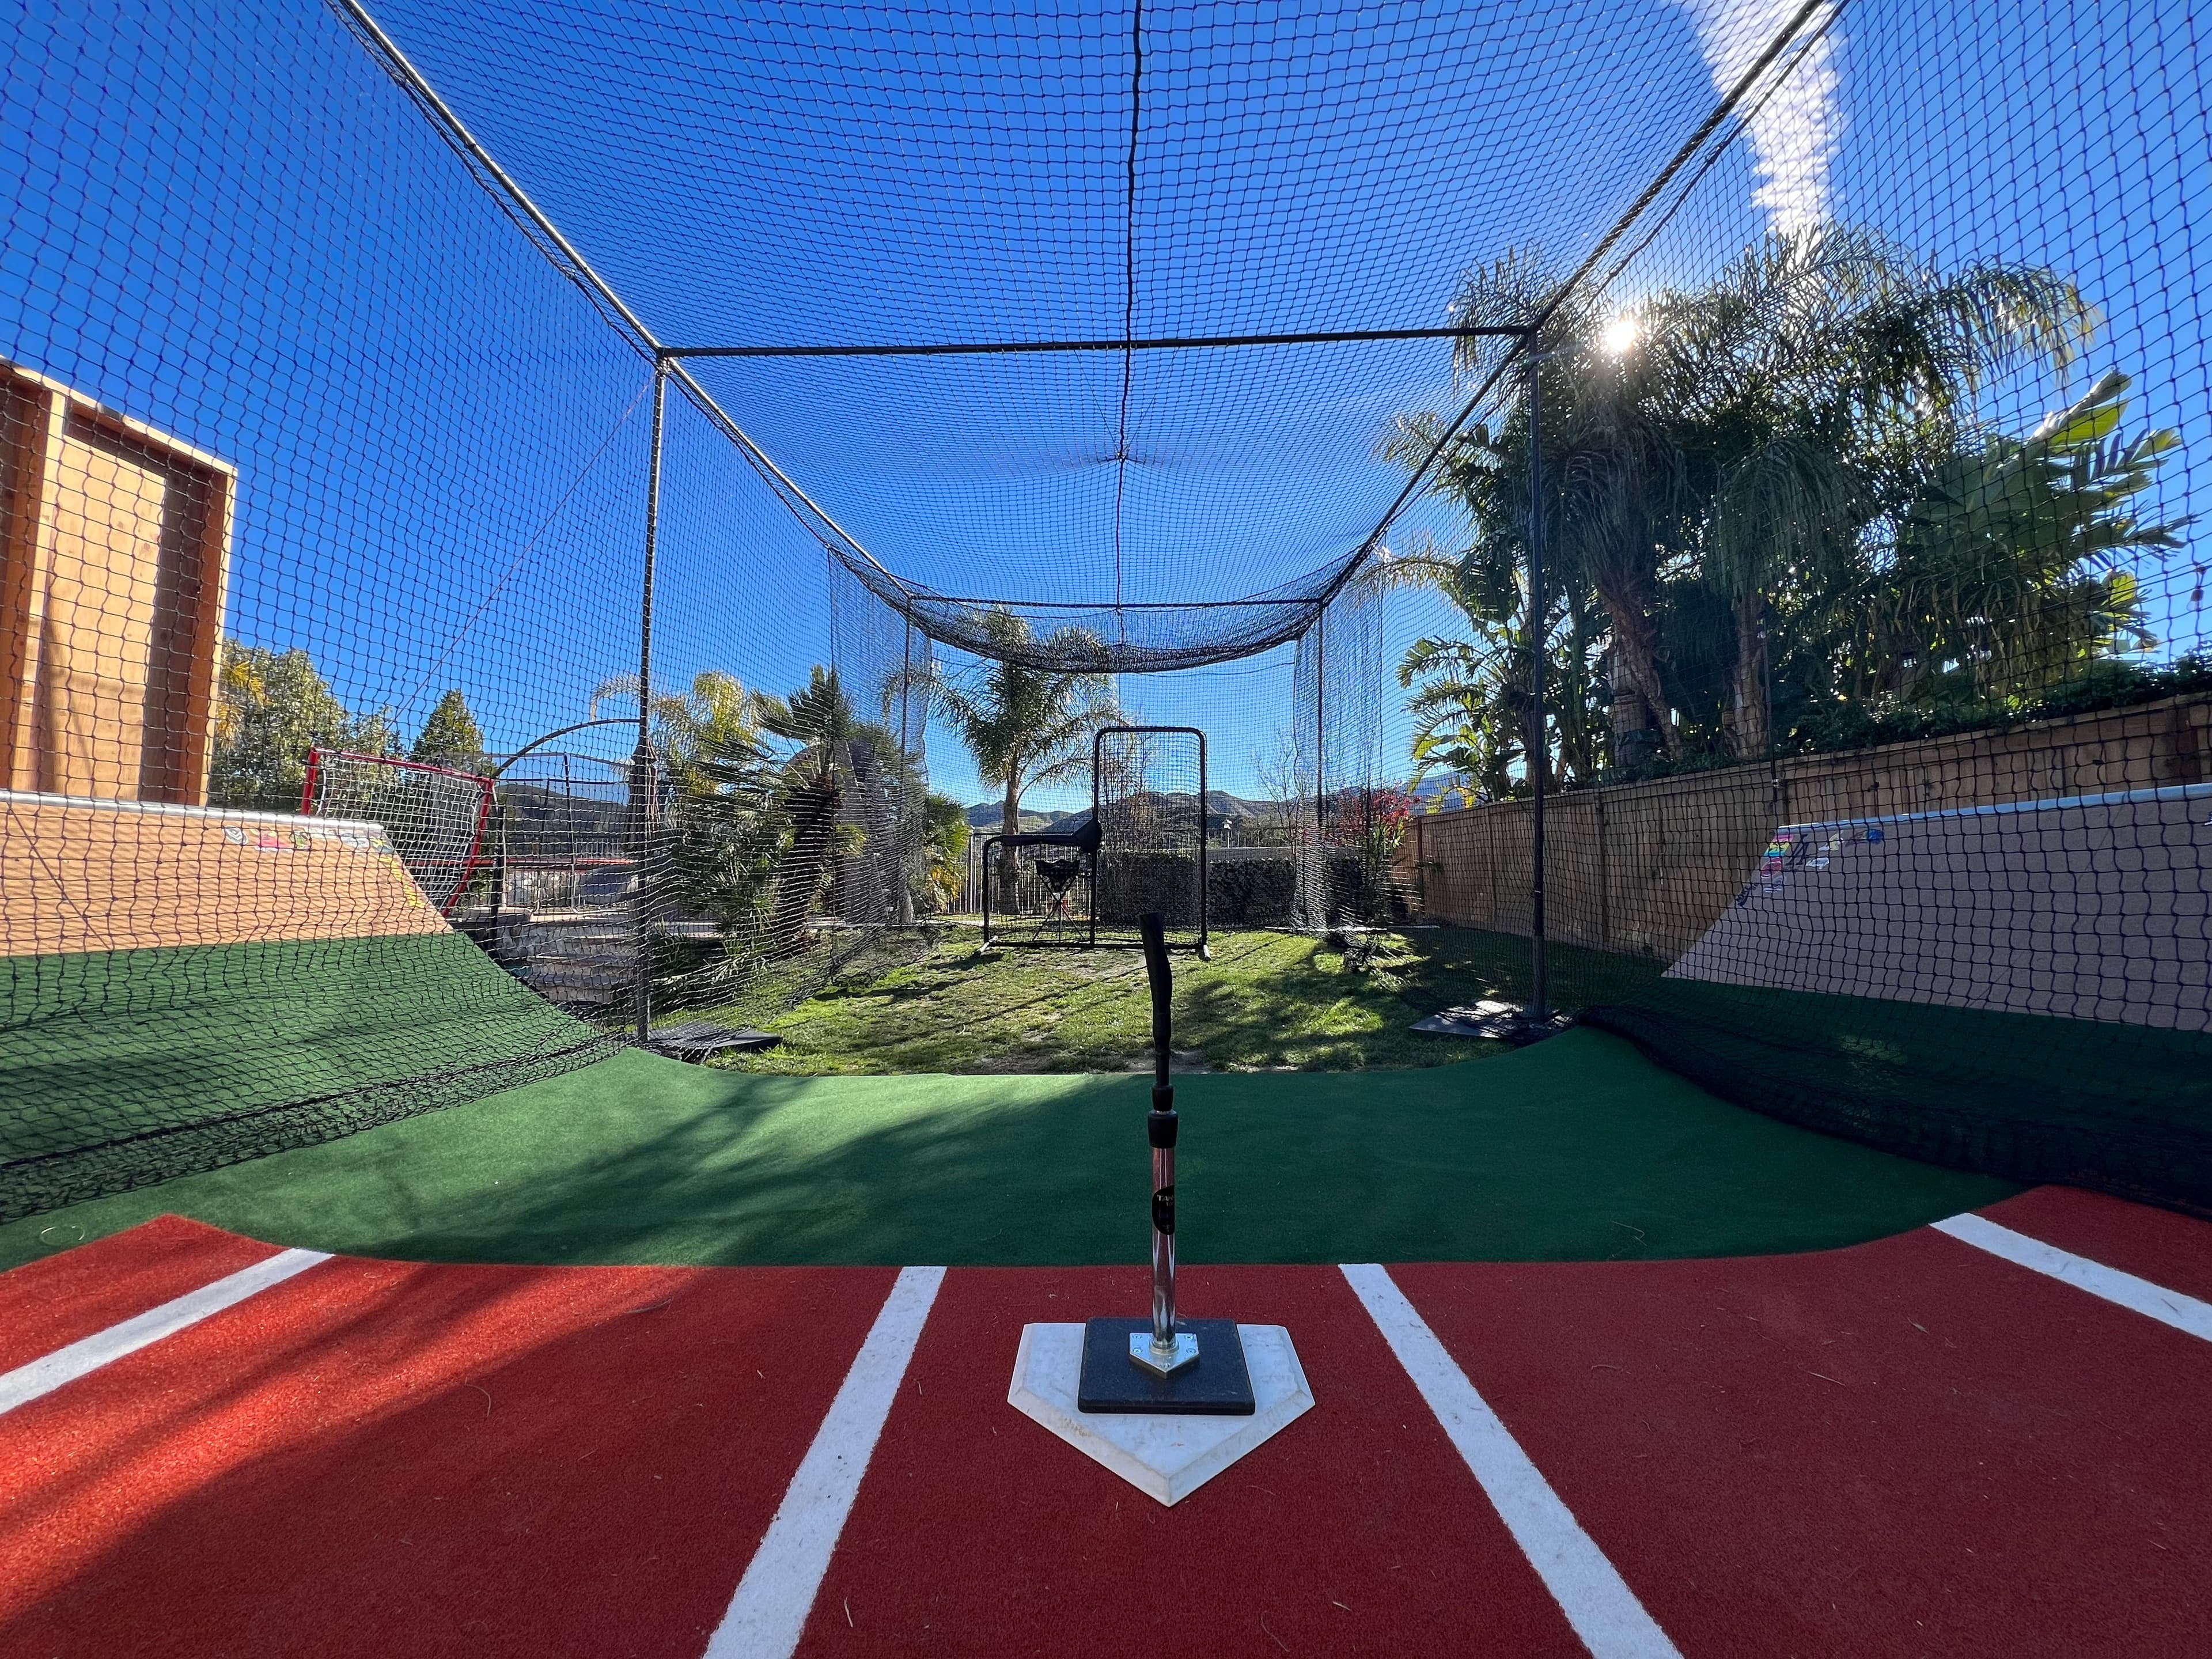
27 Types of Batting Cage: A Photo Field Guide to Every Backyard Setup in America
Barn conversions, driveway slivers, retractable tunnels, ranch cages and climate-controlled outbuildings. A photo field guide to 27 kinds of batting cage, built from 214 real bookable listings on CageList, with what each one costs and who it is for.
18 min readRead
Run a travel team? Get your free page.
Baseball or softball. Claim a free directory page, post tryouts, and share cagelist.com/@yourteam with families.
Find your league
Free directories of real leagues and clubs near you. Then book a batting cage to get your reps in before opening day.
1,416 organizations
 leagues in 49 statesAdult hardball near you: MSBL, NABA and independent leagues.Browse men's leagues
 leagues in 49 statesYouth baseball and softball leagues, organized by state.Browse little leagues
 programs in 41 statesTravel and club programs in your region. Find one, or list yours free.Browse travel teams
Join the backyard batting cage community
Talk builds, gear, hosting and player development with cage owners, coaches, parents and baseball families.