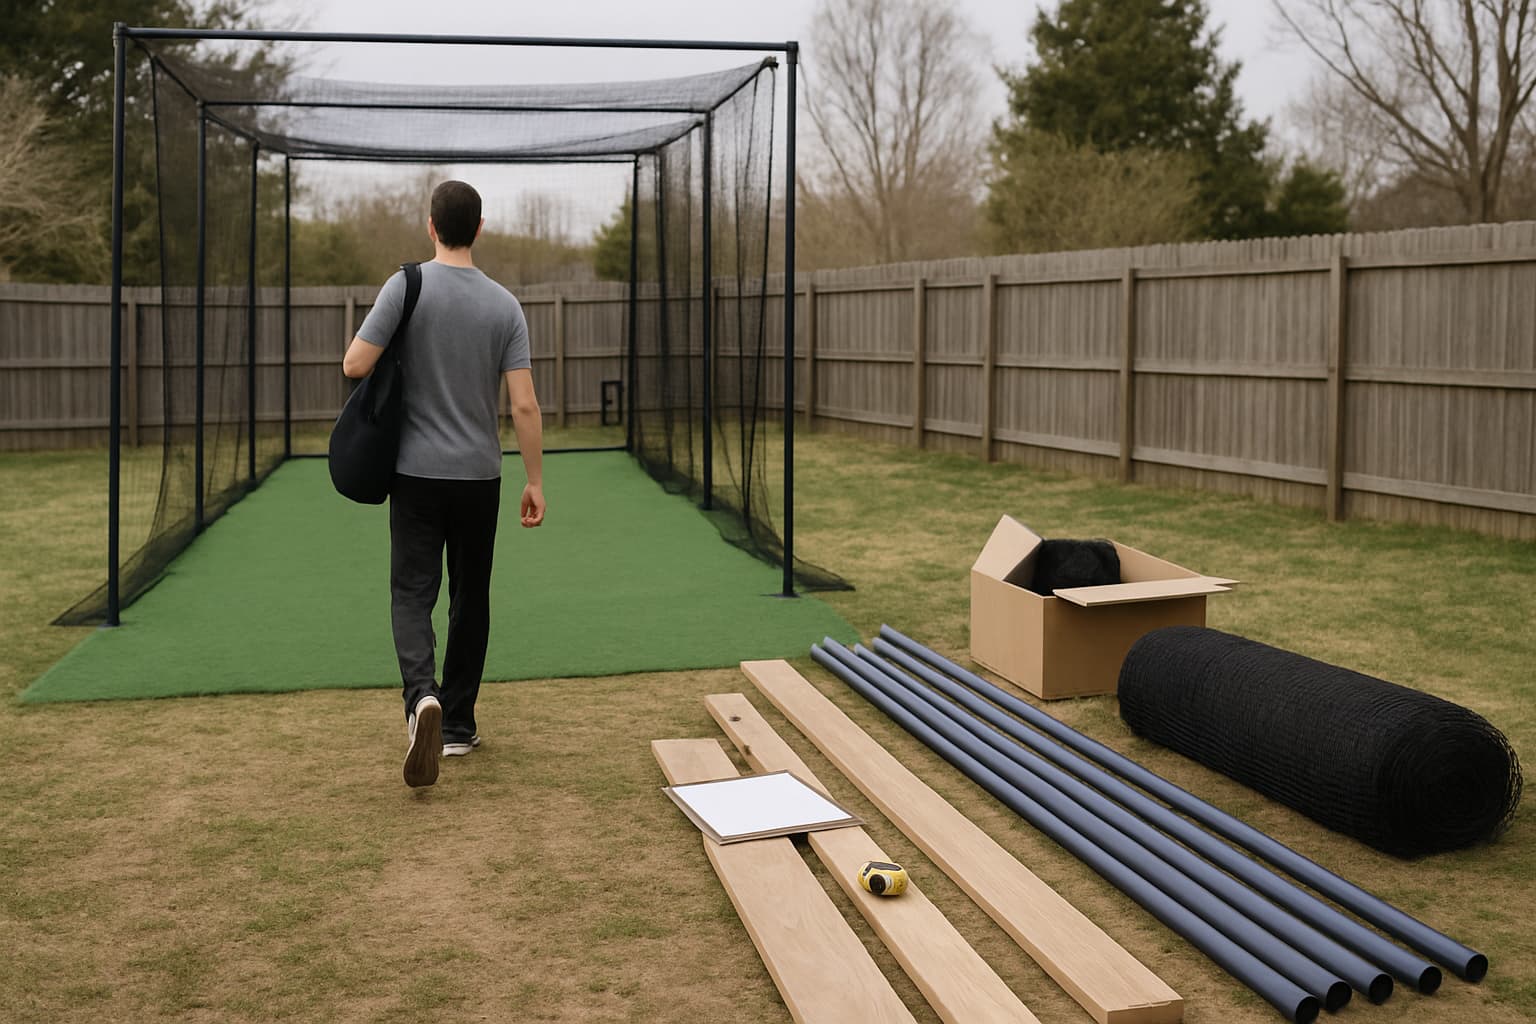
Poor lighting is one of the most common and costly mistakes batting cage owners make. It affects player performance, safety, and rental appeal. Here are the most common lighting mistakes — and how to avoid them.
Mistake 1: Not Enough Lumens
The #1 mistake. Many owners buy "outdoor lights" without checking lumen output. A 65W equivalent LED delivering 800 lumens is nowhere near enough for a 55-foot batting cage. Aim for minimum 6,000 total lumens; 10,000+ for rental-grade setups.
Mistake 2: Wrong Light Placement
Lights placed behind the batter shine directly into the pitcher's eyes. Lights too far to the side create harsh shadows on the pitch. Mount lights above and slightly in front of the batter, angled downward at 30–45 degrees.
Mistake 3: Using Indoor Lights Outdoors
Indoor-rated LED fixtures will fail quickly in outdoor environments. Always use weatherproof (IP65 or higher rated) fixtures for outdoor cages. Water infiltration into electrical fixtures is a serious fire and shock hazard.
Mistake 4: Single Light Source
One bright light creates harsh shadows and glare. Multiple fixtures positioned along the length of the cage provide even, shadow-free illumination. Use at least 3 fixtures for a 55-foot cage.
Mistake 5: No GFCI Protection
All outdoor electrical outlets must be GFCI (Ground Fault Circuit Interrupter) protected. This is a code requirement and a critical safety measure near metal batting cage structures.
Mistake 6: Forgetting a Kill Switch
If renters are using your cage independently, they need an easy way to control the lights. Install a weatherproof outdoor switch accessible from inside or just outside the cage entry point.
Final Thoughts
Lighting done right is a major selling point on CageList and makes your cage usable year-round. Lighting done wrong is a safety hazard. Plan your lighting before construction and run conduit early — it's much cheaper than retrofitting.
Keep exploring on CageList
- Read the batting cage build guide
- Estimate batting cage ROI
- Compare batting cage quality tiers
- Join the CageList builder network
What to decide before you spend money
The best batting cage build decisions start with use case. A youth player who needs tee work and front toss does not need the same structure as a high school team running machine rounds, and a host planning to rent cage time on CageList has different needs than a homeowner building only for family use. Before buying materials, define the player level, expected weekly use, weather exposure, available footprint, and whether the cage might eventually become a rentable asset.
Build quality matters because batting cages take repetitive abuse. Netting, frame stability, drainage, surface choice, lighting, and safe equipment placement all affect how long the cage lasts and how confident players feel inside it. A cheaper build can make sense, but only if it is honest about its limits.
CageList build lens
CageList looks at builds through two questions: does it help players get better reps, and could a guest understand and trust the setup from a listing page? Clear dimensions, safe spacing, clean turf or flooring, good photos, and simple rules all make a cage easier to use and easier to rent.
FAQ
Should I build once or upgrade over time?
Upgrade over time if budget is tight, but do not compromise on safety basics: net condition, frame stability, distance from hazards, and clear hitting zones.
What makes a cage more rentable?
Lighting, turf, a reliable machine, L-screen, balls, parking instructions, and clean photos usually matter more than flashy extras.
Before the final decision
Walk the space like a guest would. Check where a hitter stands, where balls can escape, where spectators wait, how water drains, and how the cage will look in photos. That perspective catches problems that a materials list misses and helps the finished cage become safer, clearer, and more useful.
Get the numbers
Get your free batting cage cost estimate
Enter your email and we'll send you an itemized build breakdown — frame, netting, turf, lighting, and install — plus what a cage like yours could earn if you rent it out.
No spam, unsubscribe anytime. Prefer the interactive tool? Open the full cost calculator.
Already have a cage?
Rent it out when you're not hitting
Players, parents, and coaches near you are looking for cage time. Listing is free, you set your own price and hours, and you approve every booking.
Related Guides
View all articles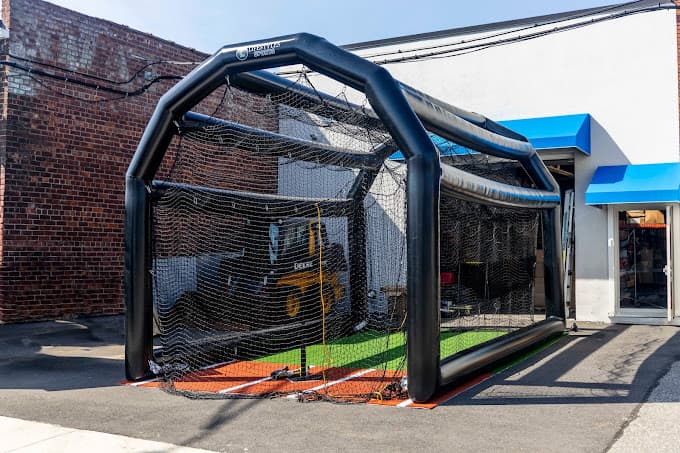
Build a Batting Cage
Inflatable Batting Cages: What They Cost, and Whether They Pay for Themselves
Inflatable batting cages run from $1,500 party units to $10,000 branded commercial builds, and only one manufacturer publishes a real price. What each tier costs, why $3,999 is not the price of a cage, and the booked hours it takes to pay one off.
Build a Batting Cage
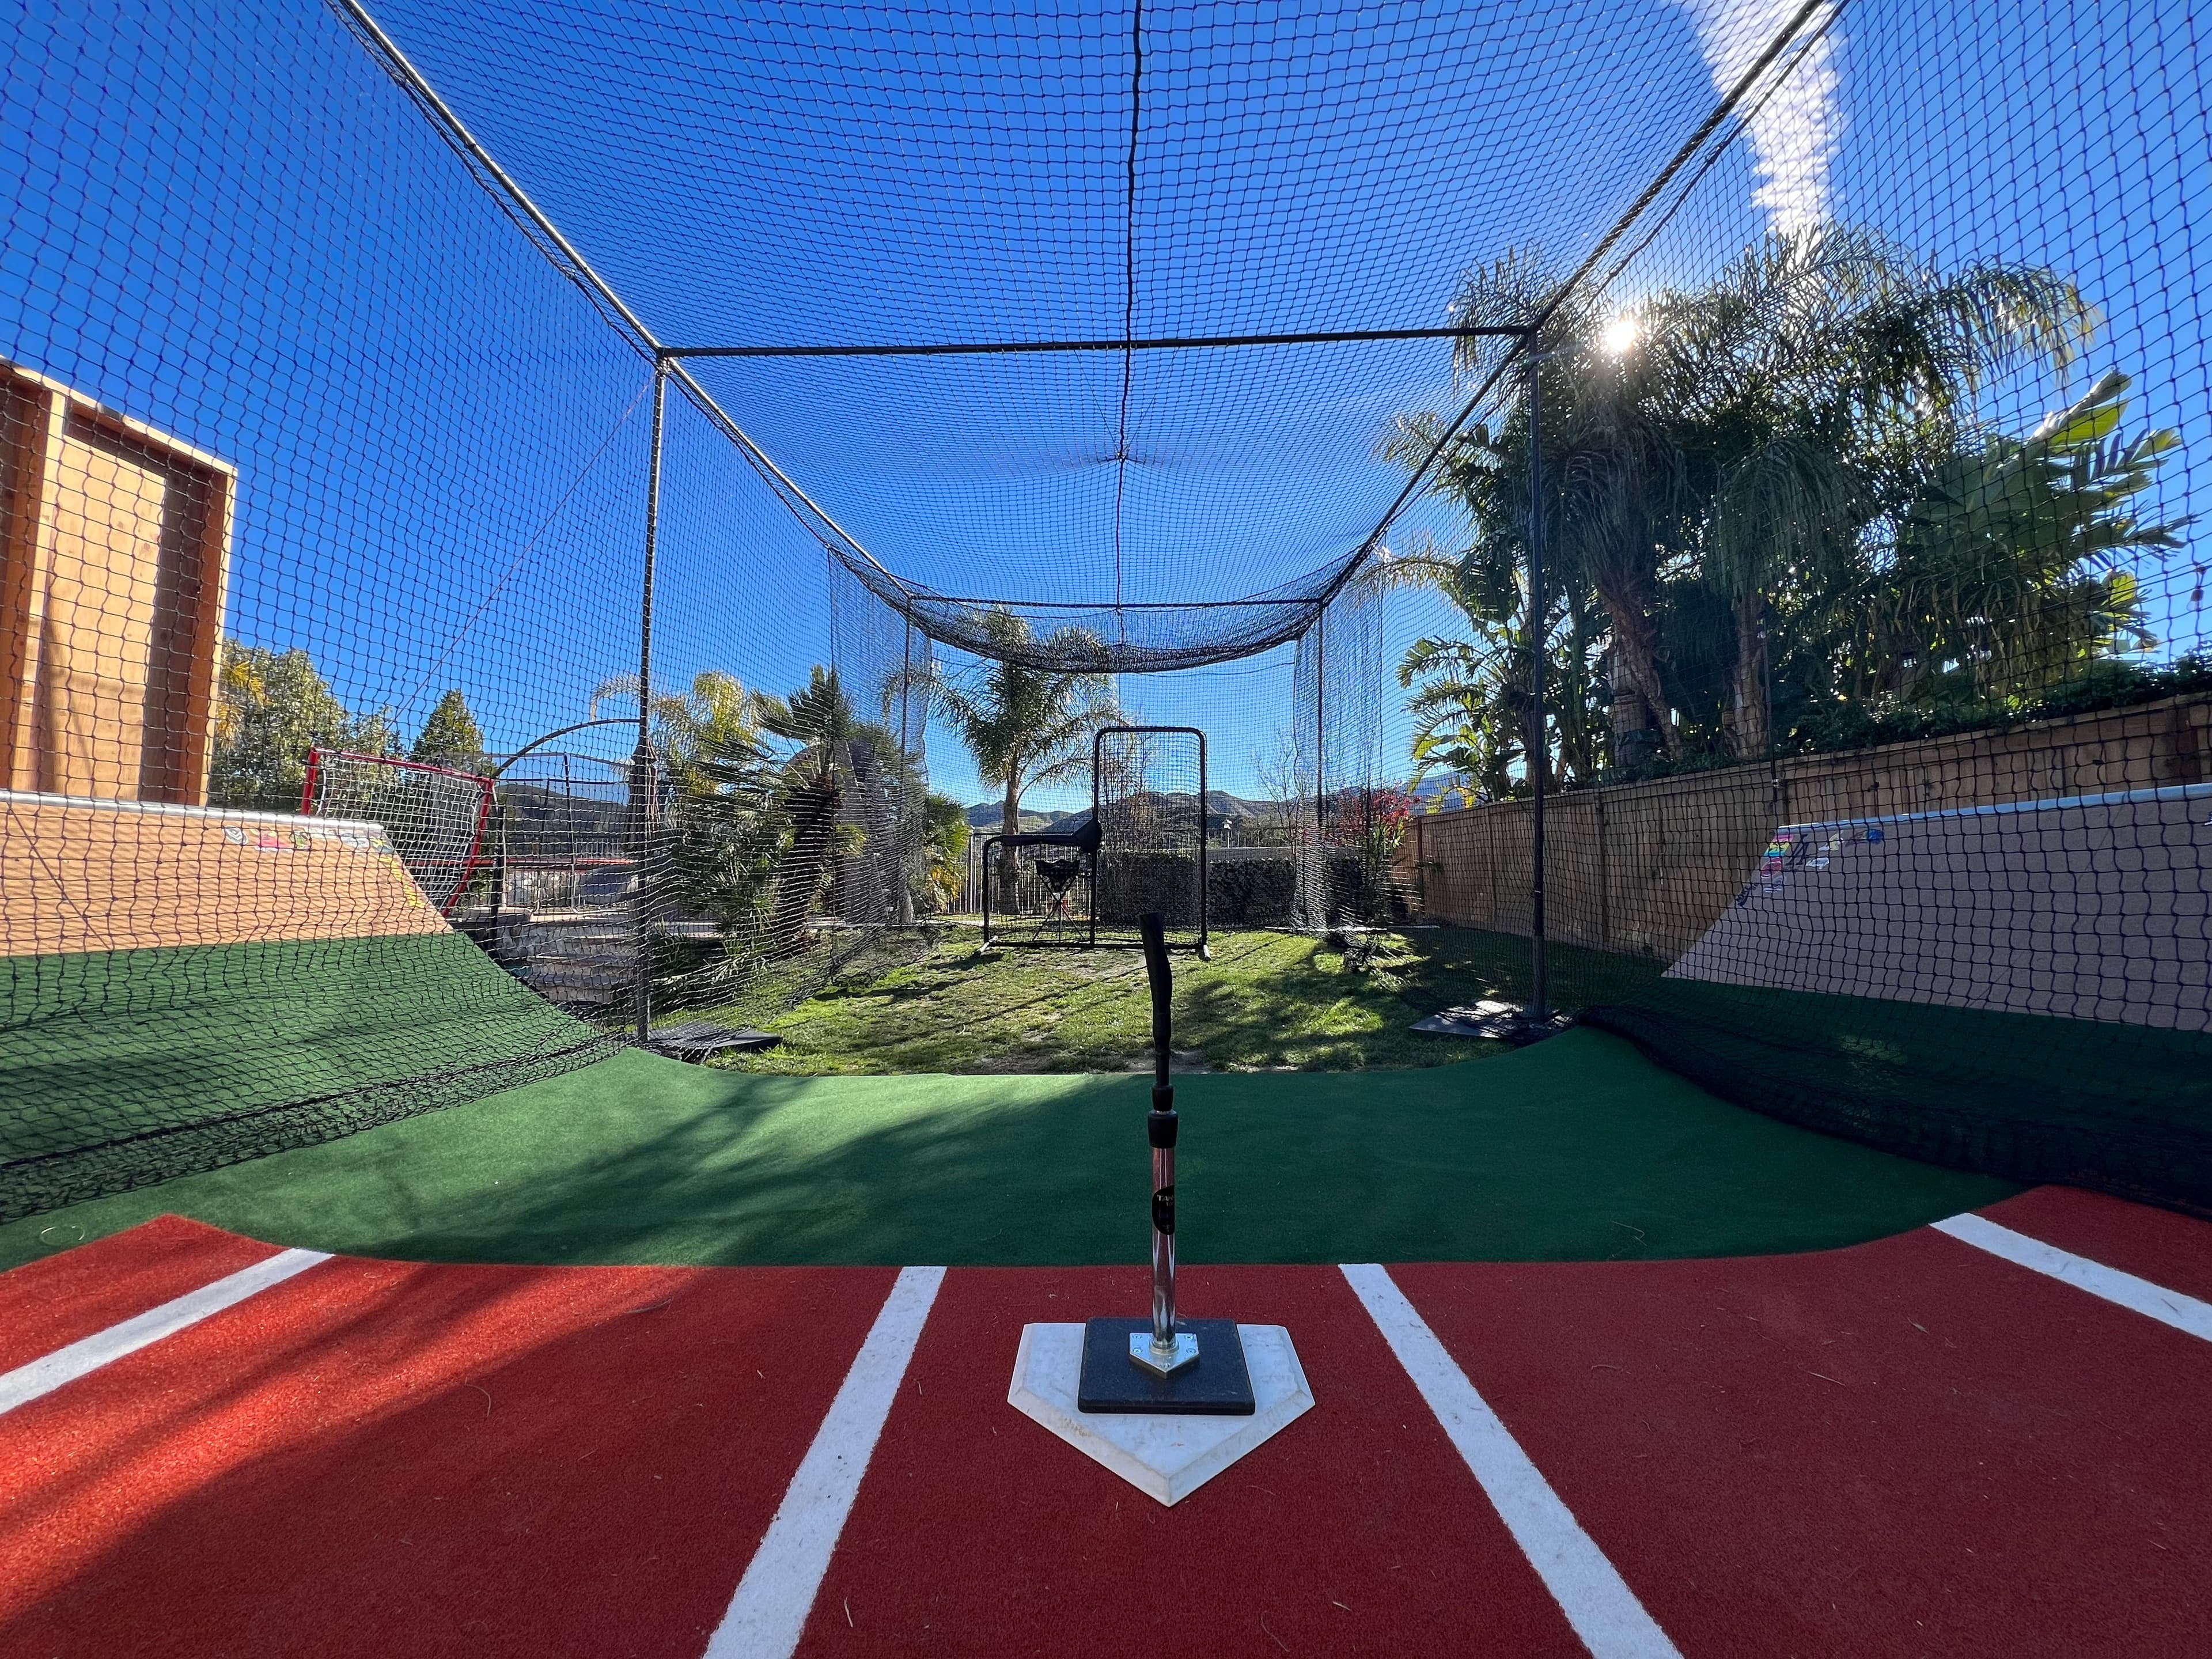
27 Types of Batting Cage: A Photo Field Guide to Every Backyard Setup in America
Barn conversions, driveway slivers, retractable tunnels, ranch cages and climate-controlled outbuildings. A photo field guide to 27 kinds of batting cage, built from 214 real bookable listings on CageList, with what each one costs and who it is for.
Build a Batting Cage
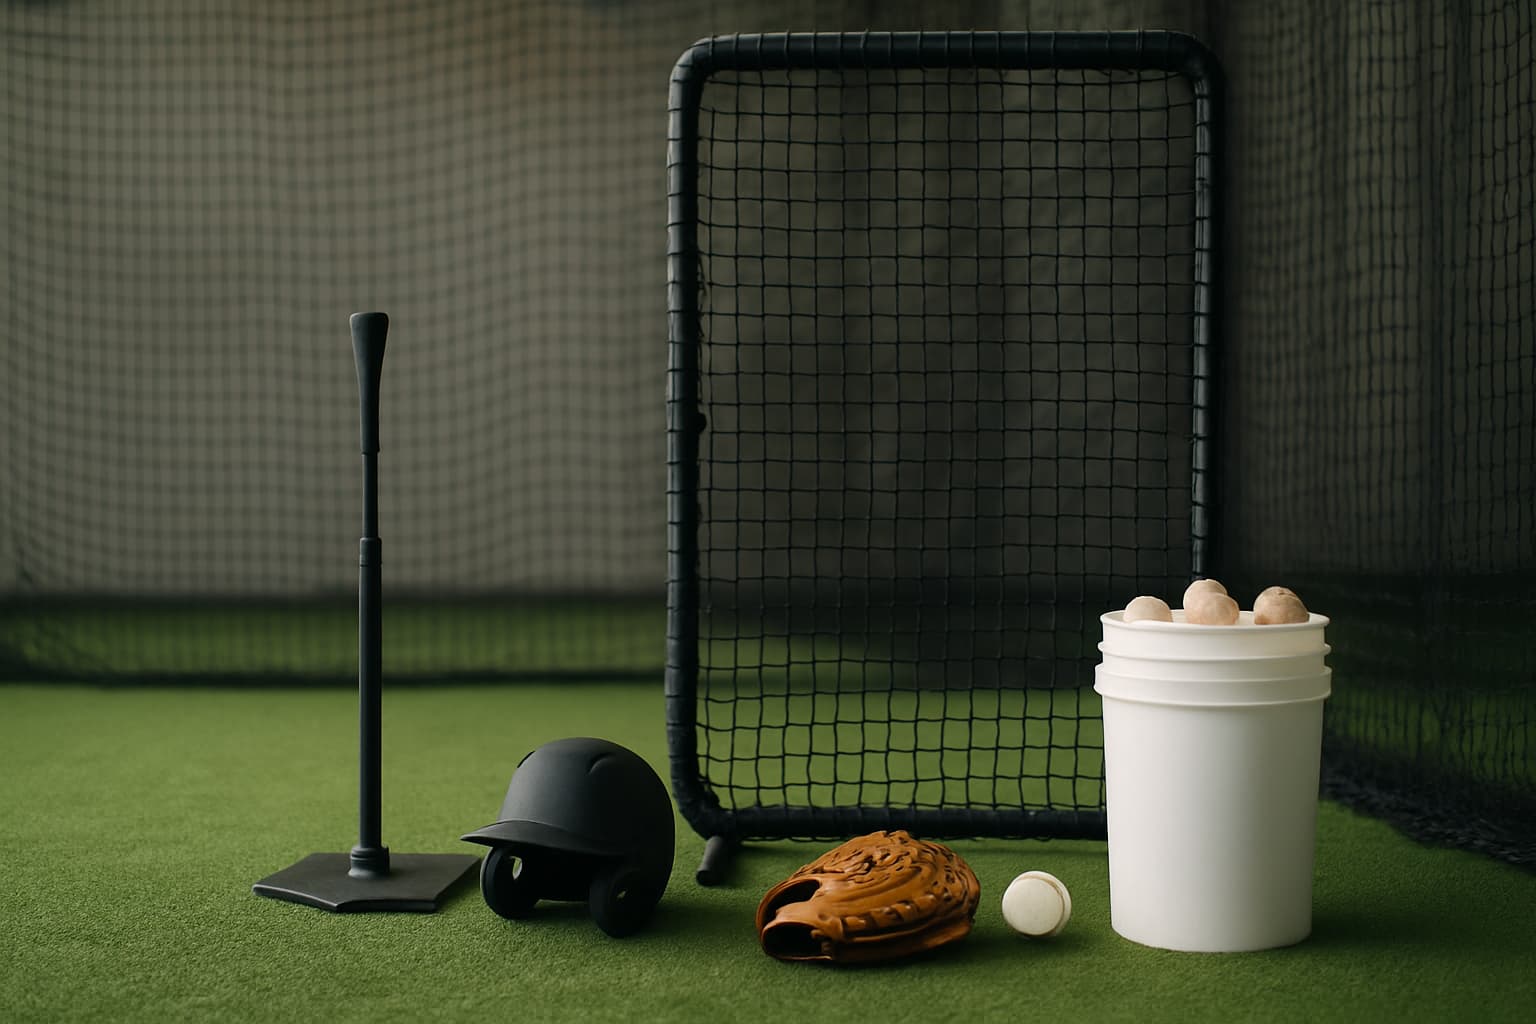
Backyard Batting Cage Kits, Compared: What You Really Get at Each Price (2026)
Every price tier of backyard batting cage, honestly compared — the companies, the netting grades, the realistic lifespan, and what a cage that survives real hitters (or paying renters) actually needs.
Run a travel team? Get your free page.
Baseball or softball. Claim a free directory page, post tryouts, and share cagelist.com/@yourteam with families.
Find your league
Free directories of real leagues and clubs near you — then book a batting cage to get your reps in before opening day.
1,000 organizations

Join the backyard batting cage community
Talk builds, gear, hosting and player development with cage owners, coaches, parents and baseball families.