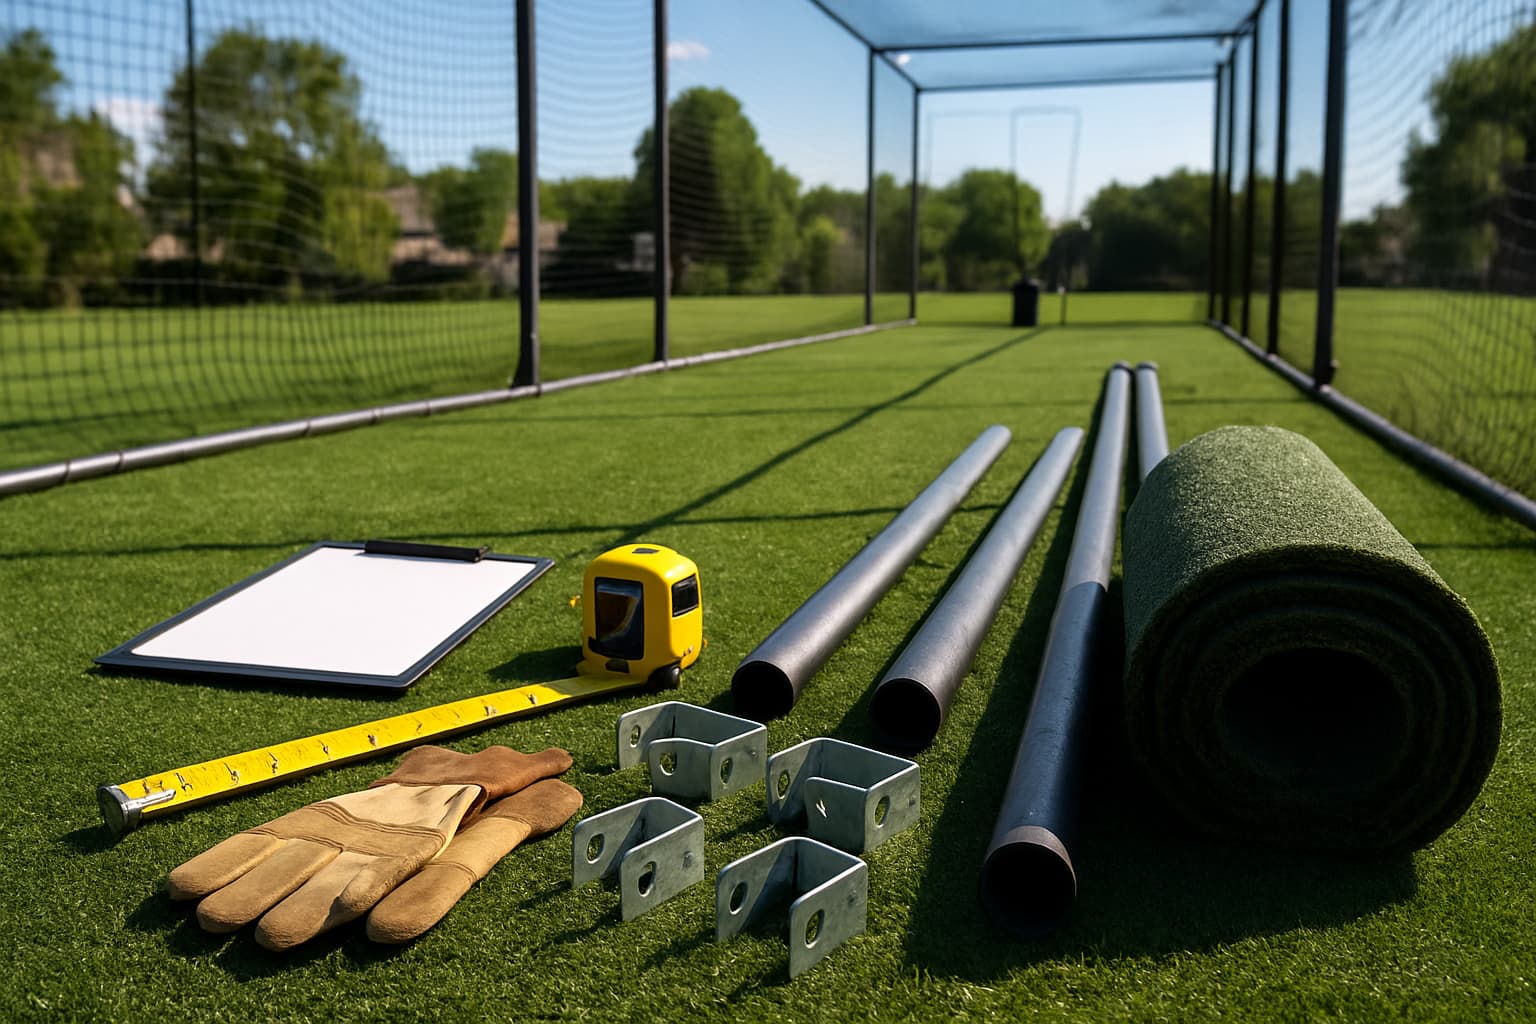
Want to practice after dark? The right lighting turns your batting cage into a 24/7 training facility. Good lighting improves visibility, reduces eye strain, and makes your cage more appealing to renters if you list on CageList. Here's what you need to know.
Why Lighting Matters
Poor lighting causes eye strain, reduces batting accuracy, and makes practice less effective. For cages used in evenings, winters with early sunsets, or covered/indoor spaces, proper lighting is essential — not optional.
Types of Batting Cage Lighting
LED Flood Lights
The most popular and cost-effective choice. LED floods are energy-efficient, long-lasting (50,000+ hours), and available in a range of lumen outputs. Aim for 4,000–6,000 lumens per fixture for a well-lit cage.
LED Shop Lights
For covered or indoor cages, LED shop lights mounted to the ceiling or frame work well. They're inexpensive and easy to wire.
Metal Halide
Older commercial standard — very bright but energy-hungry and they take time to warm up. Being replaced by LED in most applications.
Placement Recommendations
- Mount lights above and slightly behind the batter's eye line to reduce glare
- Space fixtures every 15–20 feet along the length of the cage
- Use at least 2–3 fixtures per cage for even coverage
- Aim lights downward at a 30–45 degree angle from the frame
- Avoid lights directly in the pitcher's sightline or behind the plate
Wiring Considerations
- Outdoor-rated GFCI outlets are required for safety near outdoor cages
- Run conduit underground or overhead — avoid ground-level cables
- Consider a timer or smart switch for convenience
- Hire a licensed electrician if you're unsure about wiring
Recommended Lumen Output
- Recreational/youth: 2,000–4,000 lumens total
- Serious training: 6,000–10,000 lumens total
- Commercial/rental: 10,000+ lumens for optimal visibility
Final Thoughts
Lighting is one of the highest-ROI upgrades for a batting cage. It extends usable hours dramatically and is one of the top features renters search for on CageList. If you're going to invest in a cage, budget for lighting from the start.
Keep exploring on CageList
- Read the batting cage build guide
- Estimate batting cage ROI
- Compare batting cage quality tiers
- How to choose a batting cage builder
Build decision checklist
For A Guide to Incorporate Lighting for Batting Cages, the most important question is not just what to buy or build. It is how the cage will be used after it is finished. A family cage for one hitter, a team practice cage, a lesson space, and a rental-ready backyard cage all need different decisions around netting, clearance, surface, lighting, storage, and safety.
Before spending money, write down the main user, the typical session length, the ball type, whether a machine will be used, and how many people need to stand safely around the cage. Those details make product choices more obvious and prevent expensive rework. If the cage may eventually be listed for rentals, prioritize clear access, predictable rules, good photos, and a layout that feels simple for a guest to understand.
CageList angle
CageList is not only for finding places to hit. It also gives builders a way to study what strong cages look like in the real world. Compare nearby batting cage listings and note how hosts describe length, lighting, machines, privacy, and guest expectations before finalizing your own setup.
Rental-ready thinking
Even if a cage starts as a personal project, it is worth thinking like a future host. Clear entry, safe walking paths, predictable ball containment, lighting, and simple rules all make the space easier for guests to understand. Those choices also make the cage easier for family members, teammates, and instructors to use.
When a build is clean enough to photograph and explain, it is also easier to list on CageList later if the owner decides to turn unused cage time into local availability.
Get the numbers
Get your free batting cage cost estimate
Enter your email and we'll send you an itemized build breakdown — frame, netting, turf, lighting, and install — plus what a cage like yours could earn if you rent it out.
No spam, unsubscribe anytime. Prefer the interactive tool? Open the full cost calculator.
Already have a cage?
Rent it out when you're not hitting
Players, parents, and coaches near you are looking for cage time. Listing is free, you set your own price and hours, and you approve every booking.
Related Guides
View all articles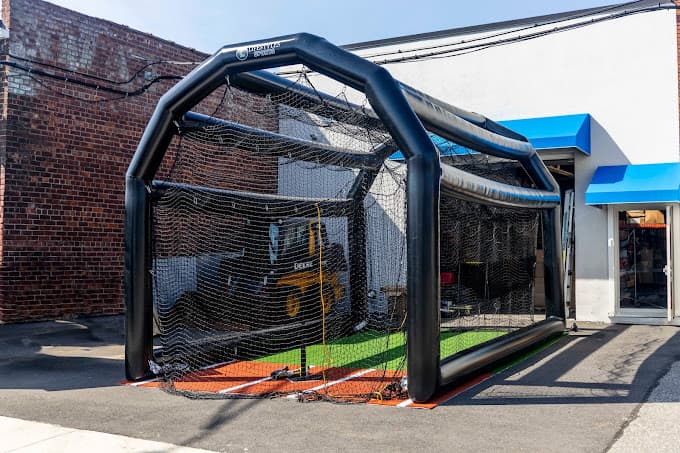
Build a Batting Cage
Inflatable Batting Cages: What They Cost, and Whether They Pay for Themselves
Inflatable batting cages run from $1,500 party units to $10,000 branded commercial builds, and only one manufacturer publishes a real price. What each tier costs, why $3,999 is not the price of a cage, and the booked hours it takes to pay one off.
Build a Batting Cage
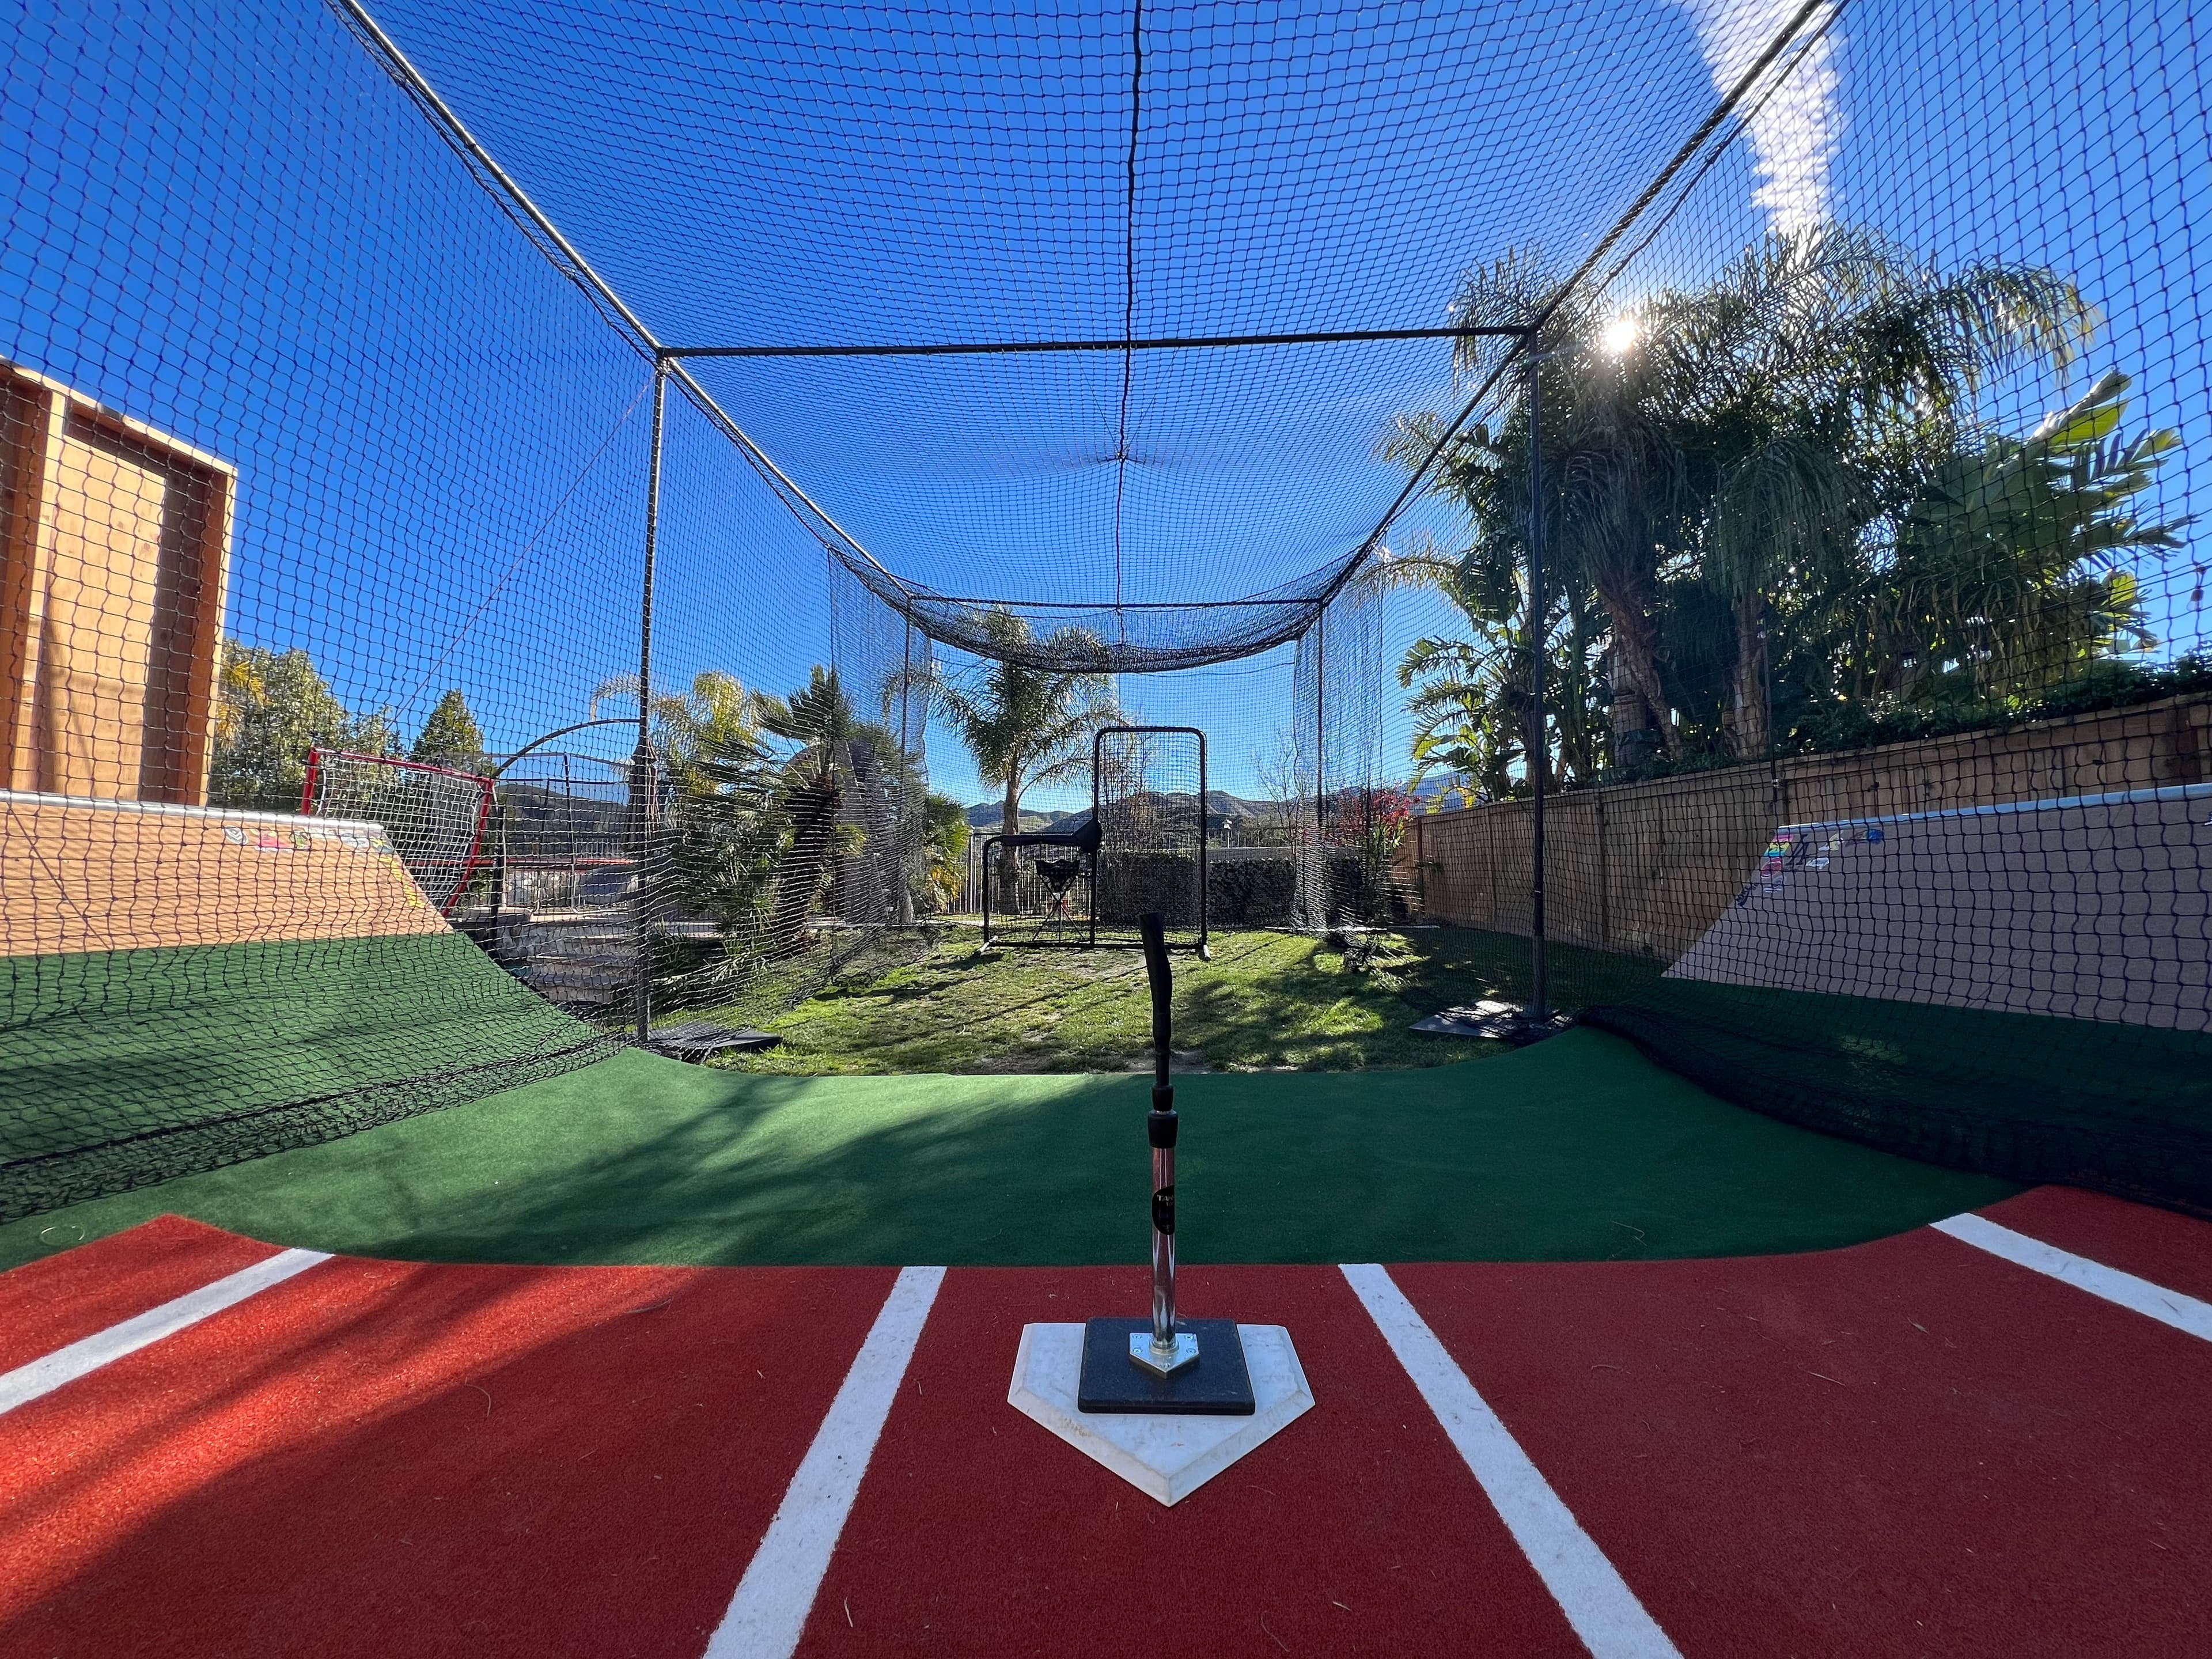
27 Types of Batting Cage: A Photo Field Guide to Every Backyard Setup in America
Barn conversions, driveway slivers, retractable tunnels, ranch cages and climate-controlled outbuildings. A photo field guide to 27 kinds of batting cage, built from 214 real bookable listings on CageList, with what each one costs and who it is for.
Build a Batting Cage
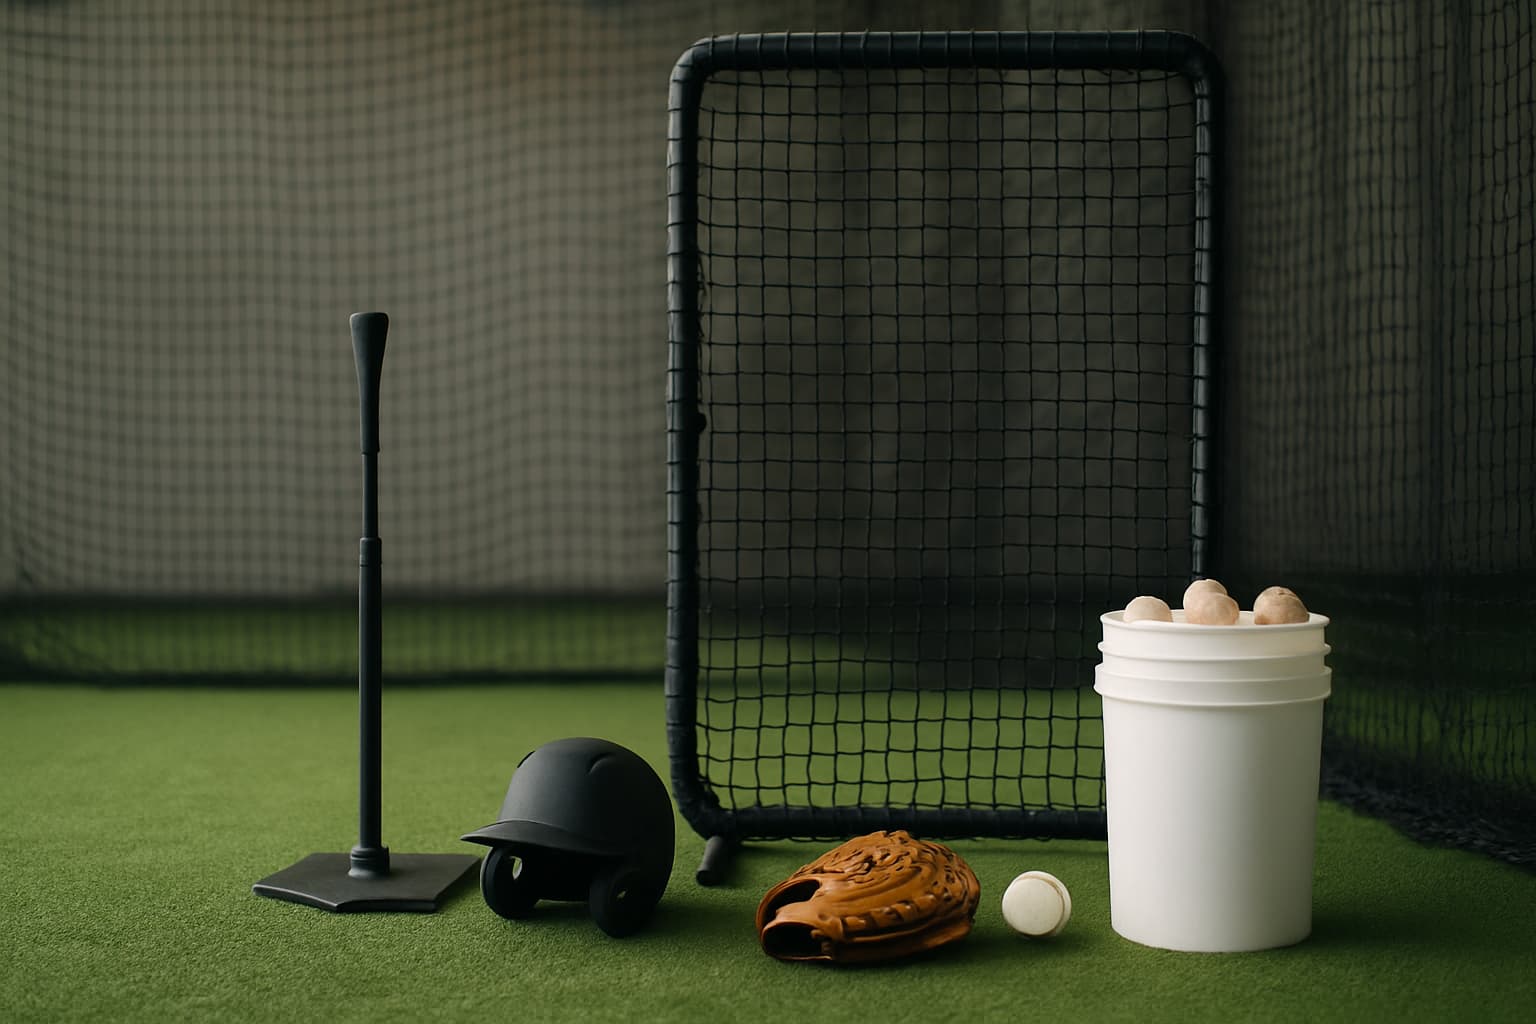
Backyard Batting Cage Kits, Compared: What You Really Get at Each Price (2026)
Every price tier of backyard batting cage, honestly compared — the companies, the netting grades, the realistic lifespan, and what a cage that survives real hitters (or paying renters) actually needs.
Run a travel team? Get your free page.
Baseball or softball. Claim a free directory page, post tryouts, and share cagelist.com/@yourteam with families.
Find your league
Free directories of real leagues and clubs near you — then book a batting cage to get your reps in before opening day.
1,000 organizations

Join the backyard batting cage community
Talk builds, gear, hosting and player development with cage owners, coaches, parents and baseball families.